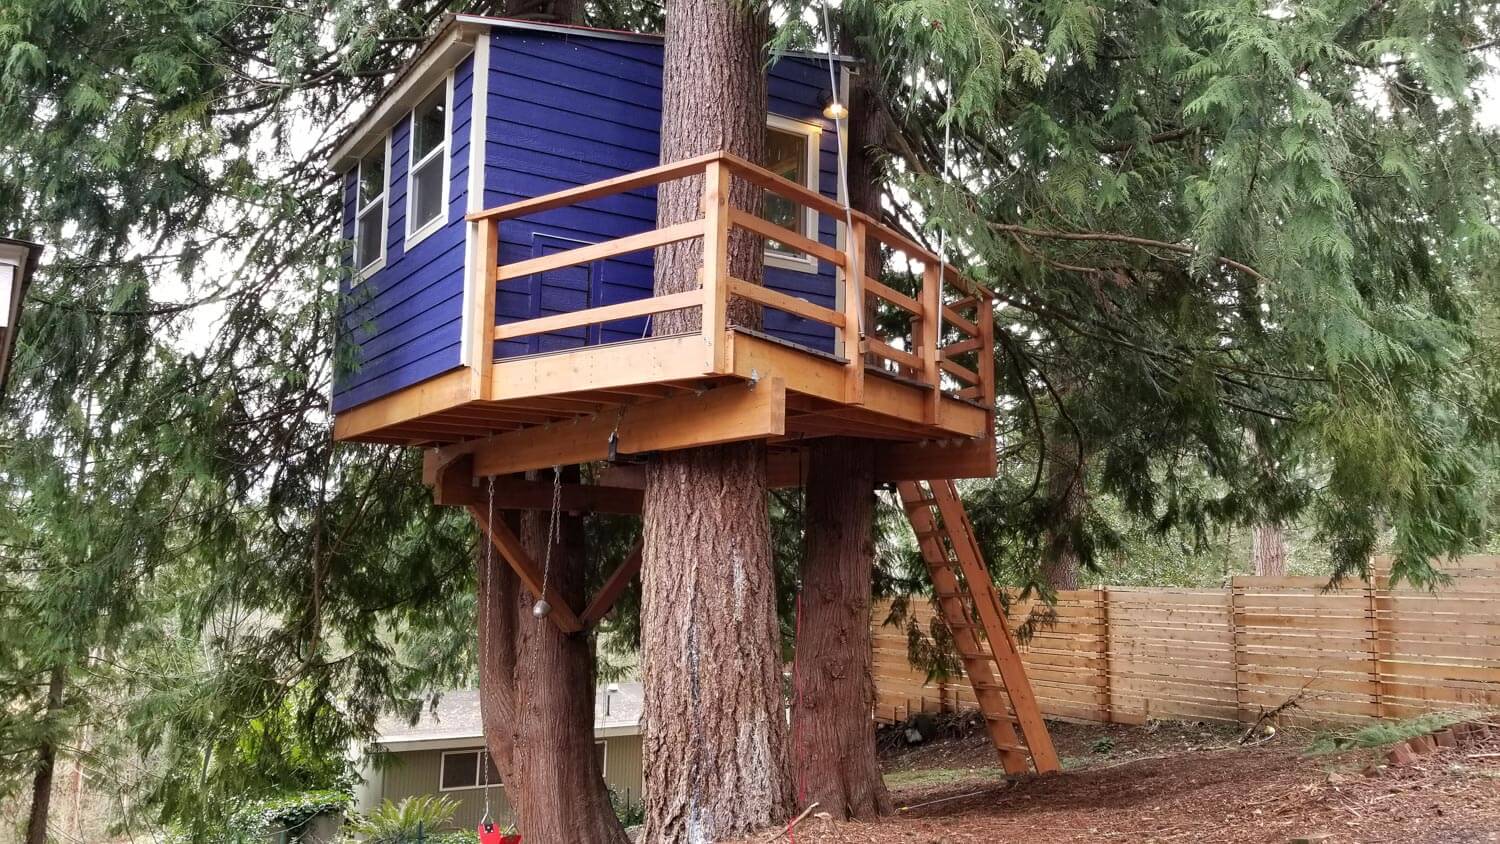
Over the years, we’ve had the honor of receiving many photos and stories from folks who have used our plans, hardware, and consultations to bring their dream treehouses to life. Today, we’re sharing treehouses by three builders across the country who blew us away with their craftsmanship, creativity, and communal approach to treehousing.
We’re so grateful to these DIY-ers for sharing their stories! They inspire us to get up into the trees.
Building your own treehouse using our plans, hardware, or consultation services? We love seeing your projects!
Tag @nelsontreehouse on social media and email us with your story at info@nelsontreehouseandsupply.com.
Jirsa Construction used our hardware to build this sensational treehouse for a private client in northern Arizona. The treehouse is positioned on a slope, soaring 24 feet off the ground at the highest point. We are blown away by the custom details, integration of the treehouse with the forest, and savvy use of the slope to maximize height and secure optimal views of the adjacent meadow.
Nick Laessig Photography captured these stunning photos of the treehouse.
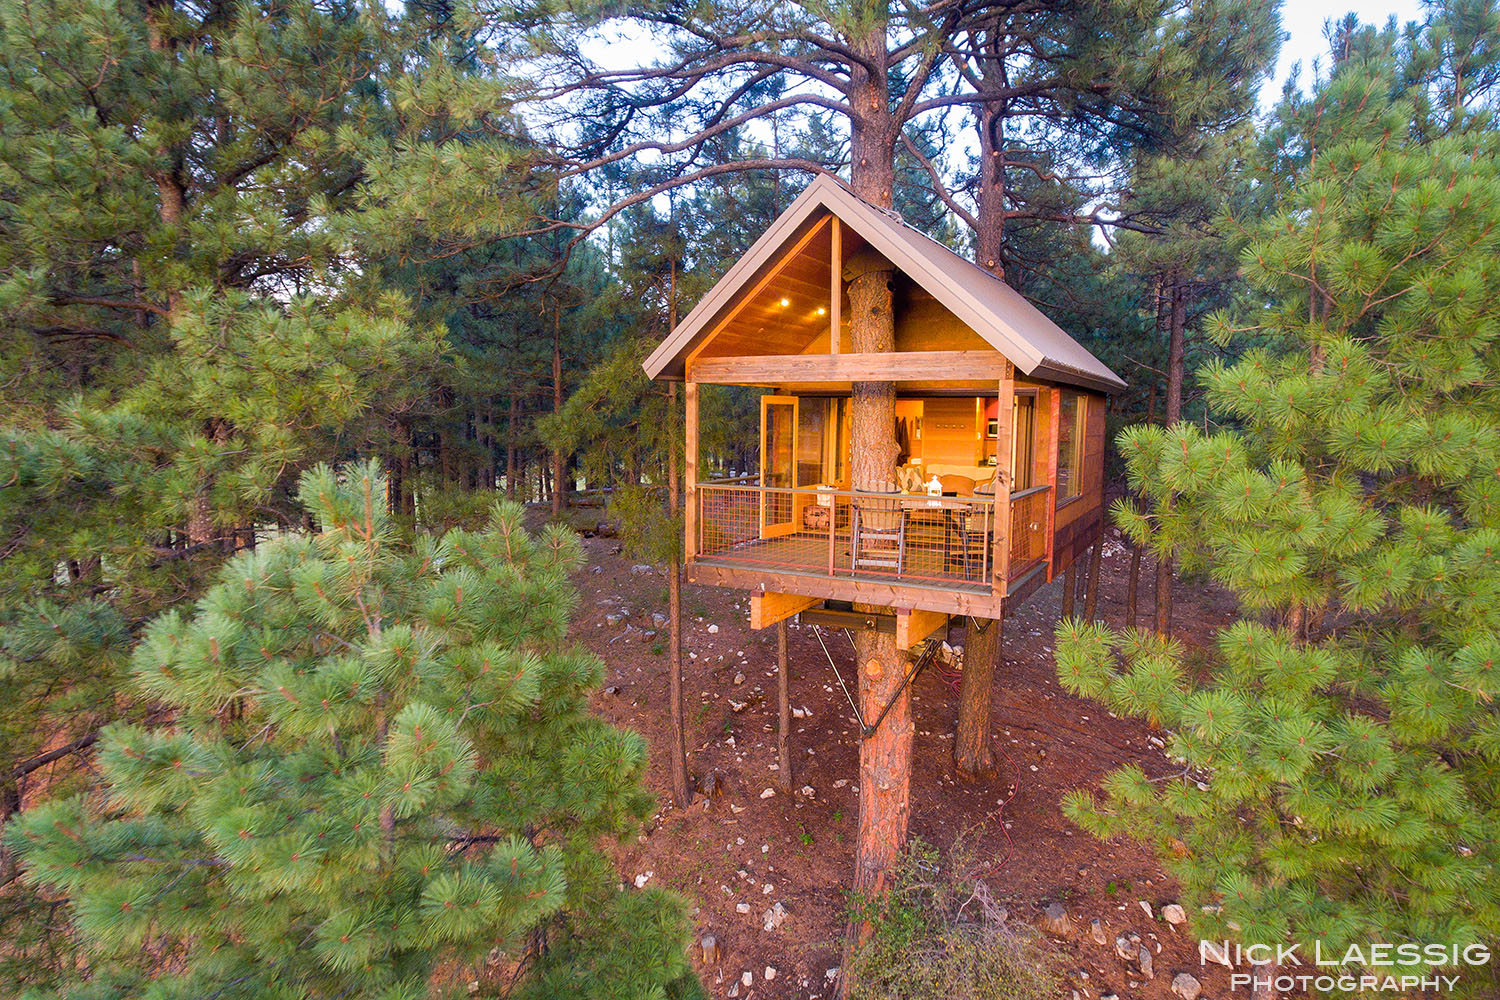 Photography by Nick Laessig Photography
In the words of Jirsa Construction: This was the first treehouse Jirsa Construction built. It was exciting and challenging and we couldn’t have done it without the hardware from Nelson Treehouse. Brett, the owner of the company, personally took lead on this project and it was inspiring for him and reinvigorated his excitement for building. This project was one of the owner’s lifelong dreams/bucket list items.
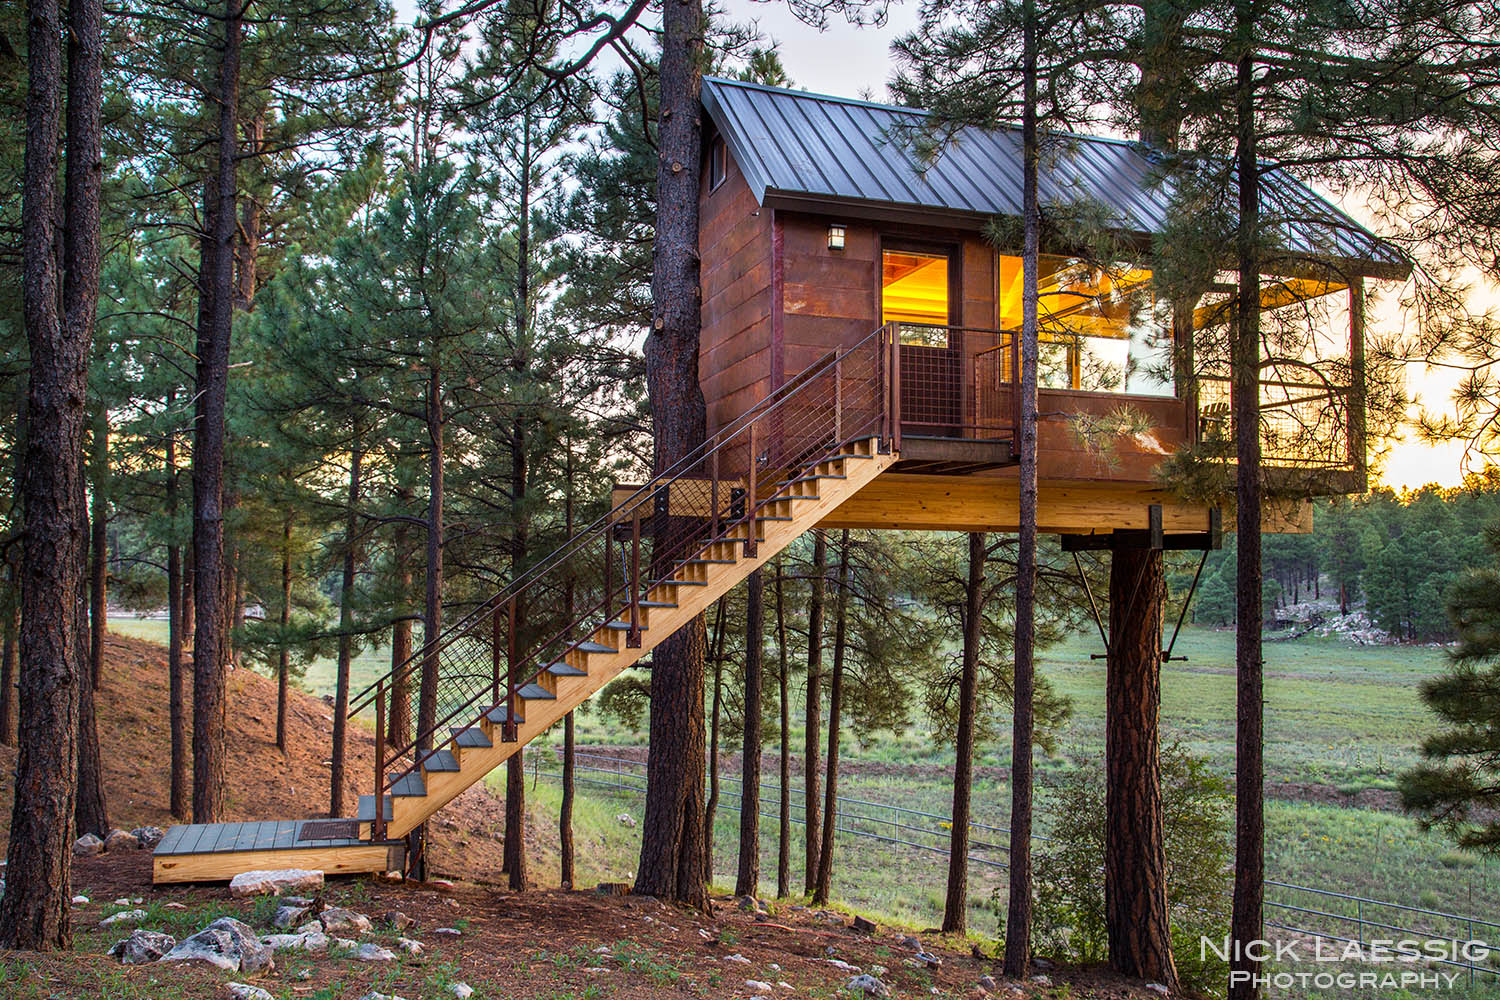 Photography by Nick Laessig Photography
Jirsa Construction: The trees are two large Ponderosa Pines. The low end is at 18 feet and the high end (deck side facing north towards the meadow) is at 24 feet up. The owner uses it as a hangout zone/retreat area and likes to hang out and watch elk in the meadow from the deck.
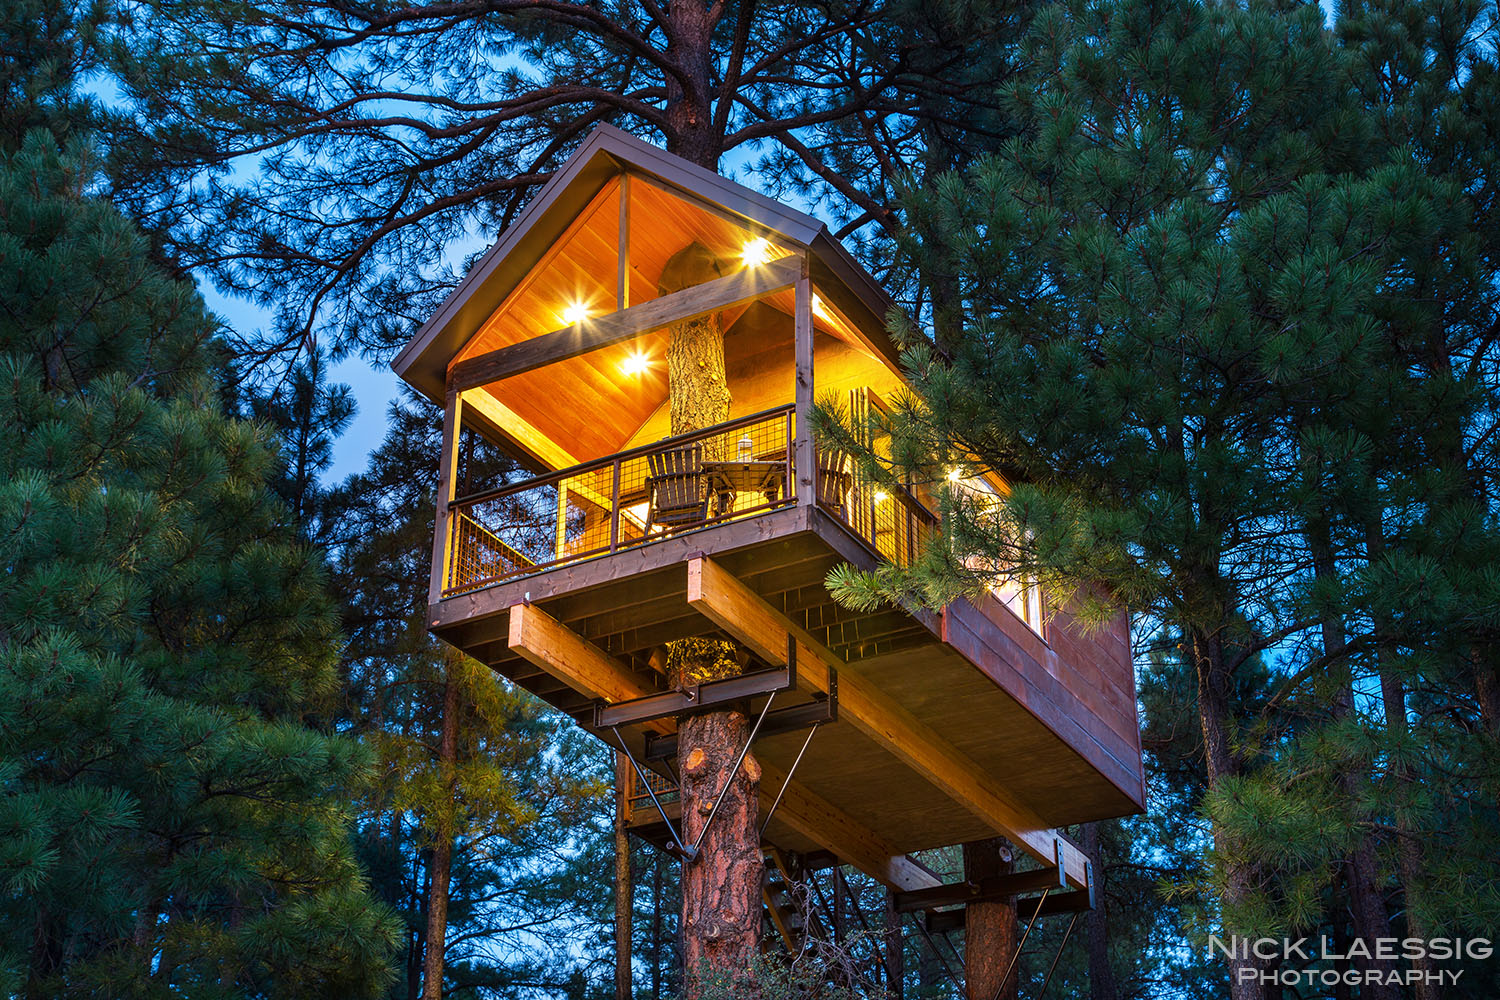 Photography by Nick Laessig Photography
Jirsa Construction: The siding is a Cor-Ten rust wall panel and a “Custom-Bilt” metal roof. The treehouse was insulated with spray foam and can be used 365 days a year in our four-seasons weather. Jirsa Construction built the treehouse in-house except for using qualified subcontractors on certain trades.
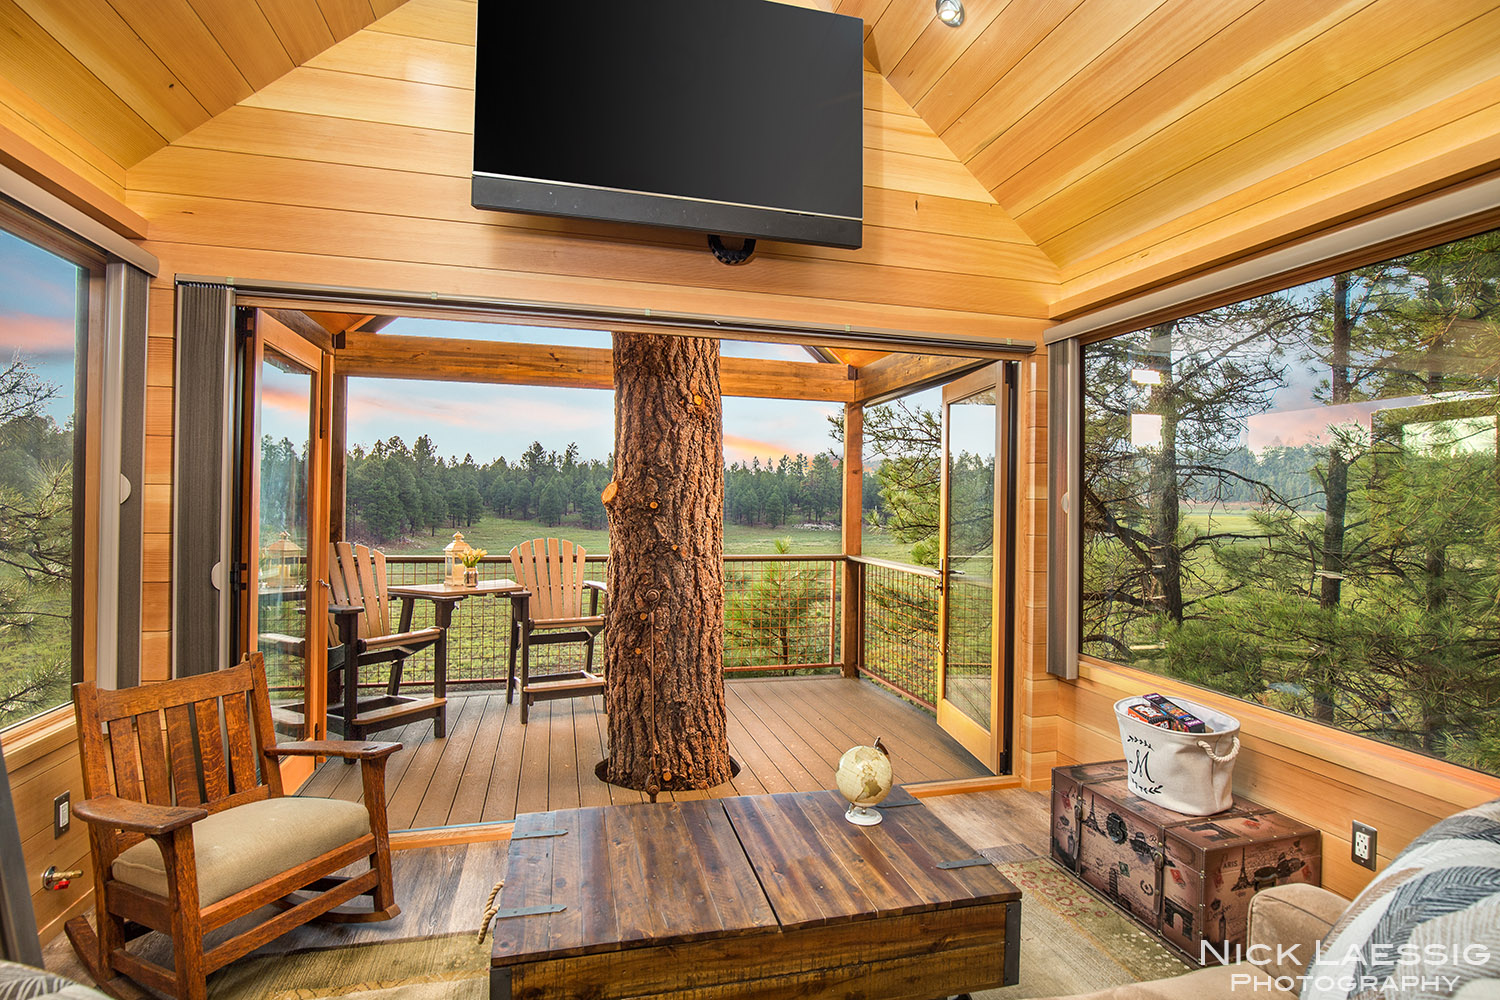 Photography by Nick Laessig Photography
Jirsa Construction: It has Sierra Pacific windows and a 12-foot-wide Sierra Pacific bi-fold door that opens up the entire front of the treehouse. The interior is all done in vertical grain Doug Fir nickel groove shiplap siding. It’s outfitted with modern conveniences and a sleeping loft.
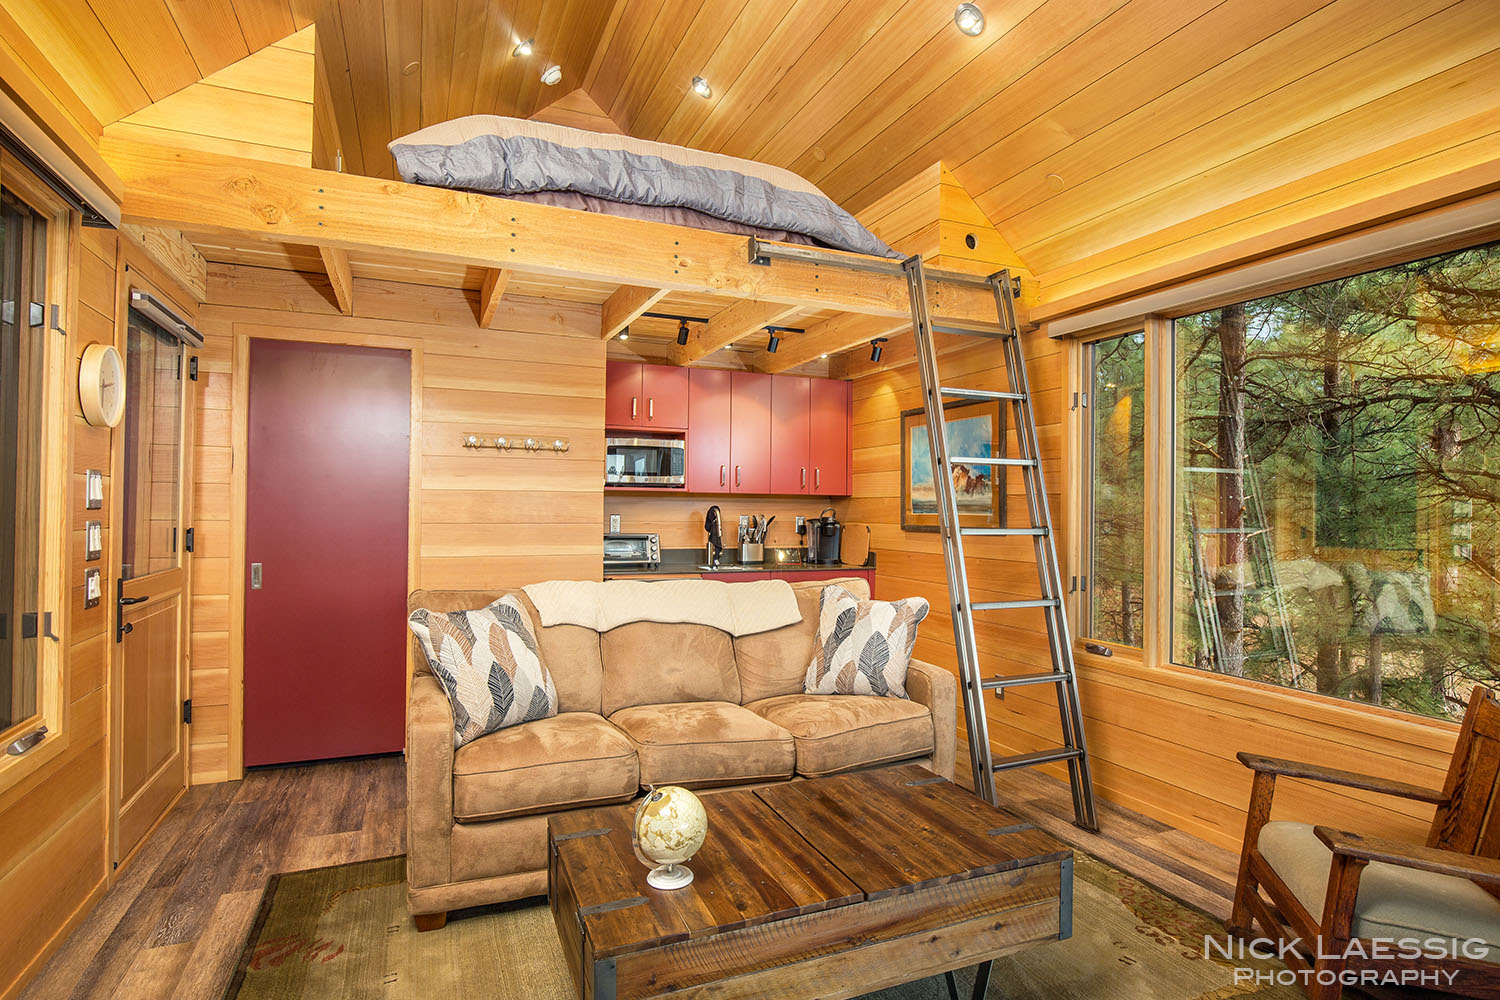 Photography by Nick Laessig Photography
Thank you for sharing the story behind this inspirational treetop retreat, Jirsa Construction!
Also, big thanks to Nick Laessig Photography for the gorgeous imagery.
Bill F. used our Methow plans and hardware to build his treehouse on the banks of a serene lake in Texas. Bill’s treehouse roosts 16 feet high in a single sweet gum. We love Bill’s clever modifications to the plans, including a “widow’s peak” on the roof, accessed by a ladder. In Bill’s words,
“We used the plan’s recommendation on the angles and that forced us up to that height, which was fine with me but kind of scary for the guys who did the work who hadn’t built anything up in a tree before—they quickly got used to it though. The ‘widow’s peak’ is obviously quite a bit higher and has a great view of the lake! We are enjoying our treehouse whenever we can!”
Scroll down for photos of Bill’s lakeside treehouse. The following photos are courtesy of Bill.
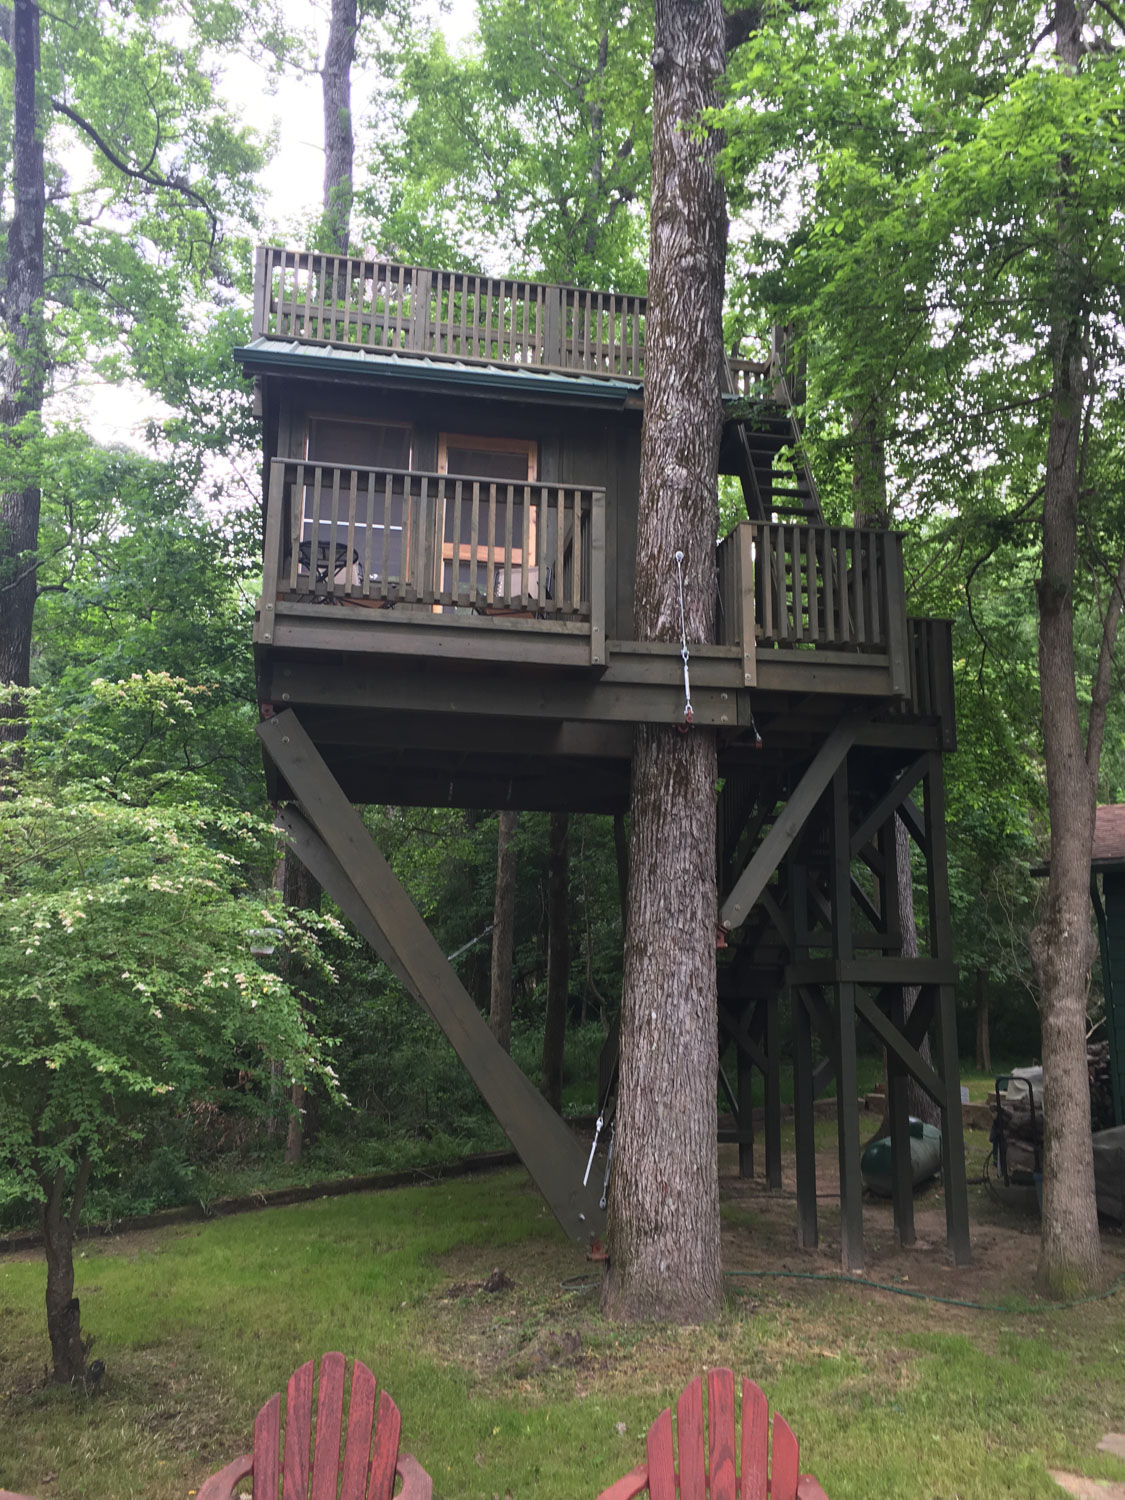 Photo By Bill F.
 Photo By Bill F.
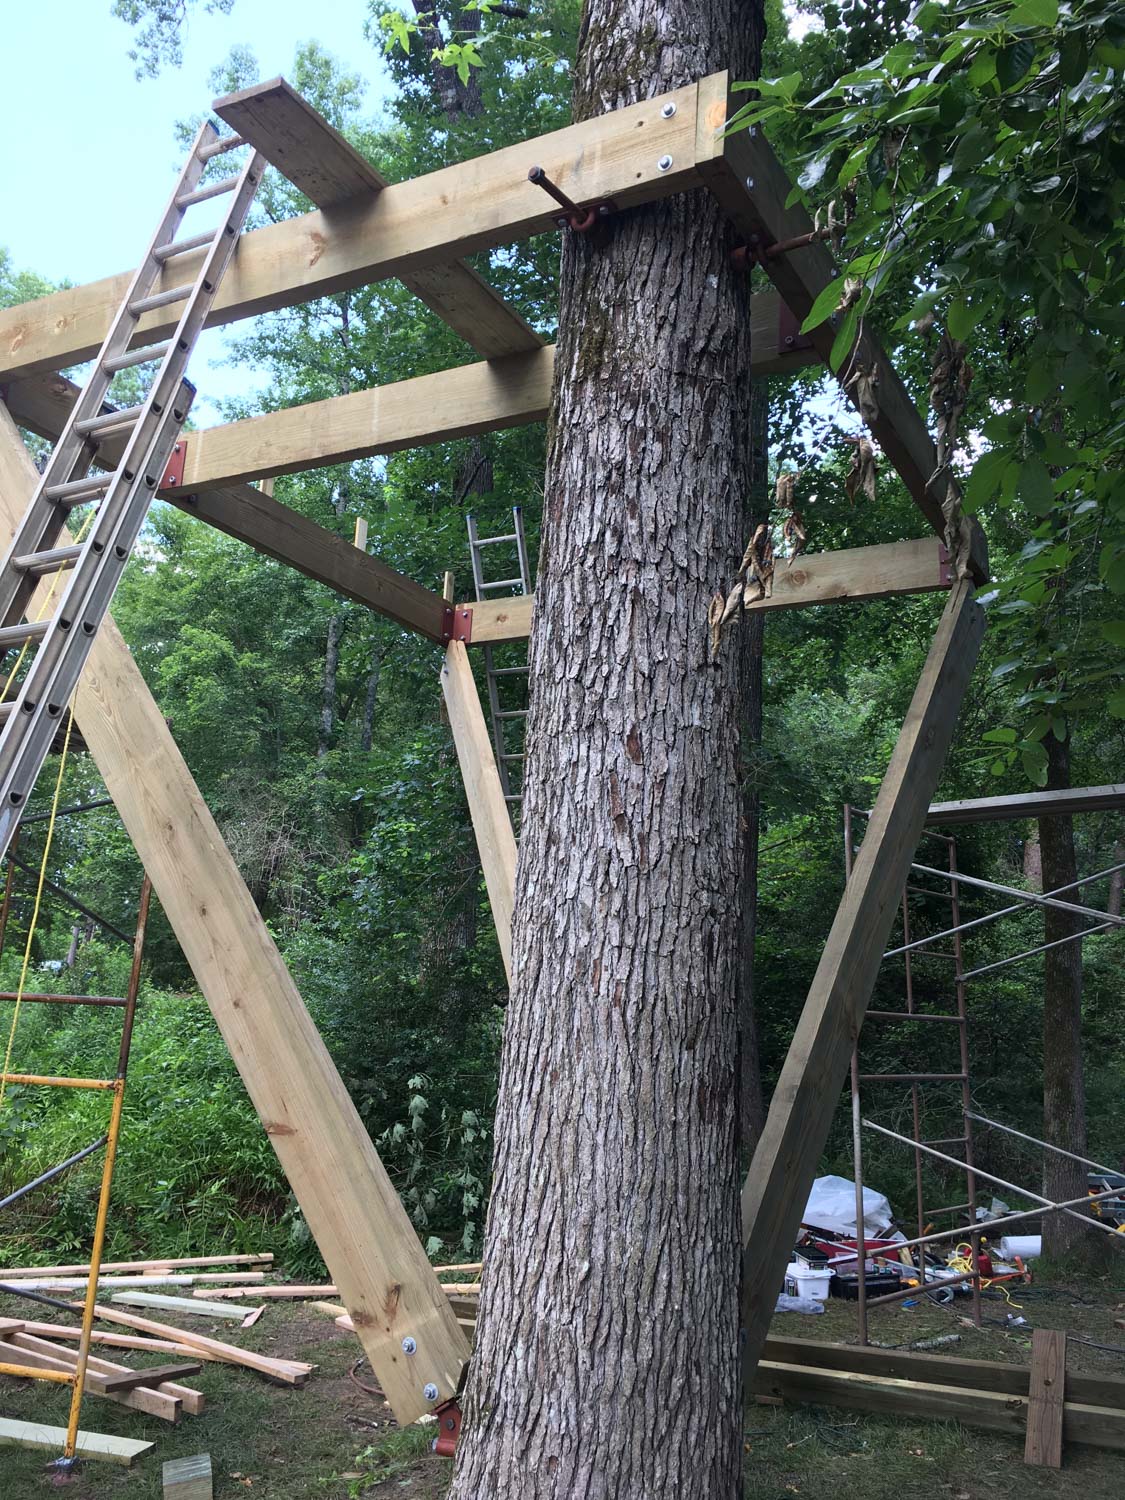 Photo By Bill F.
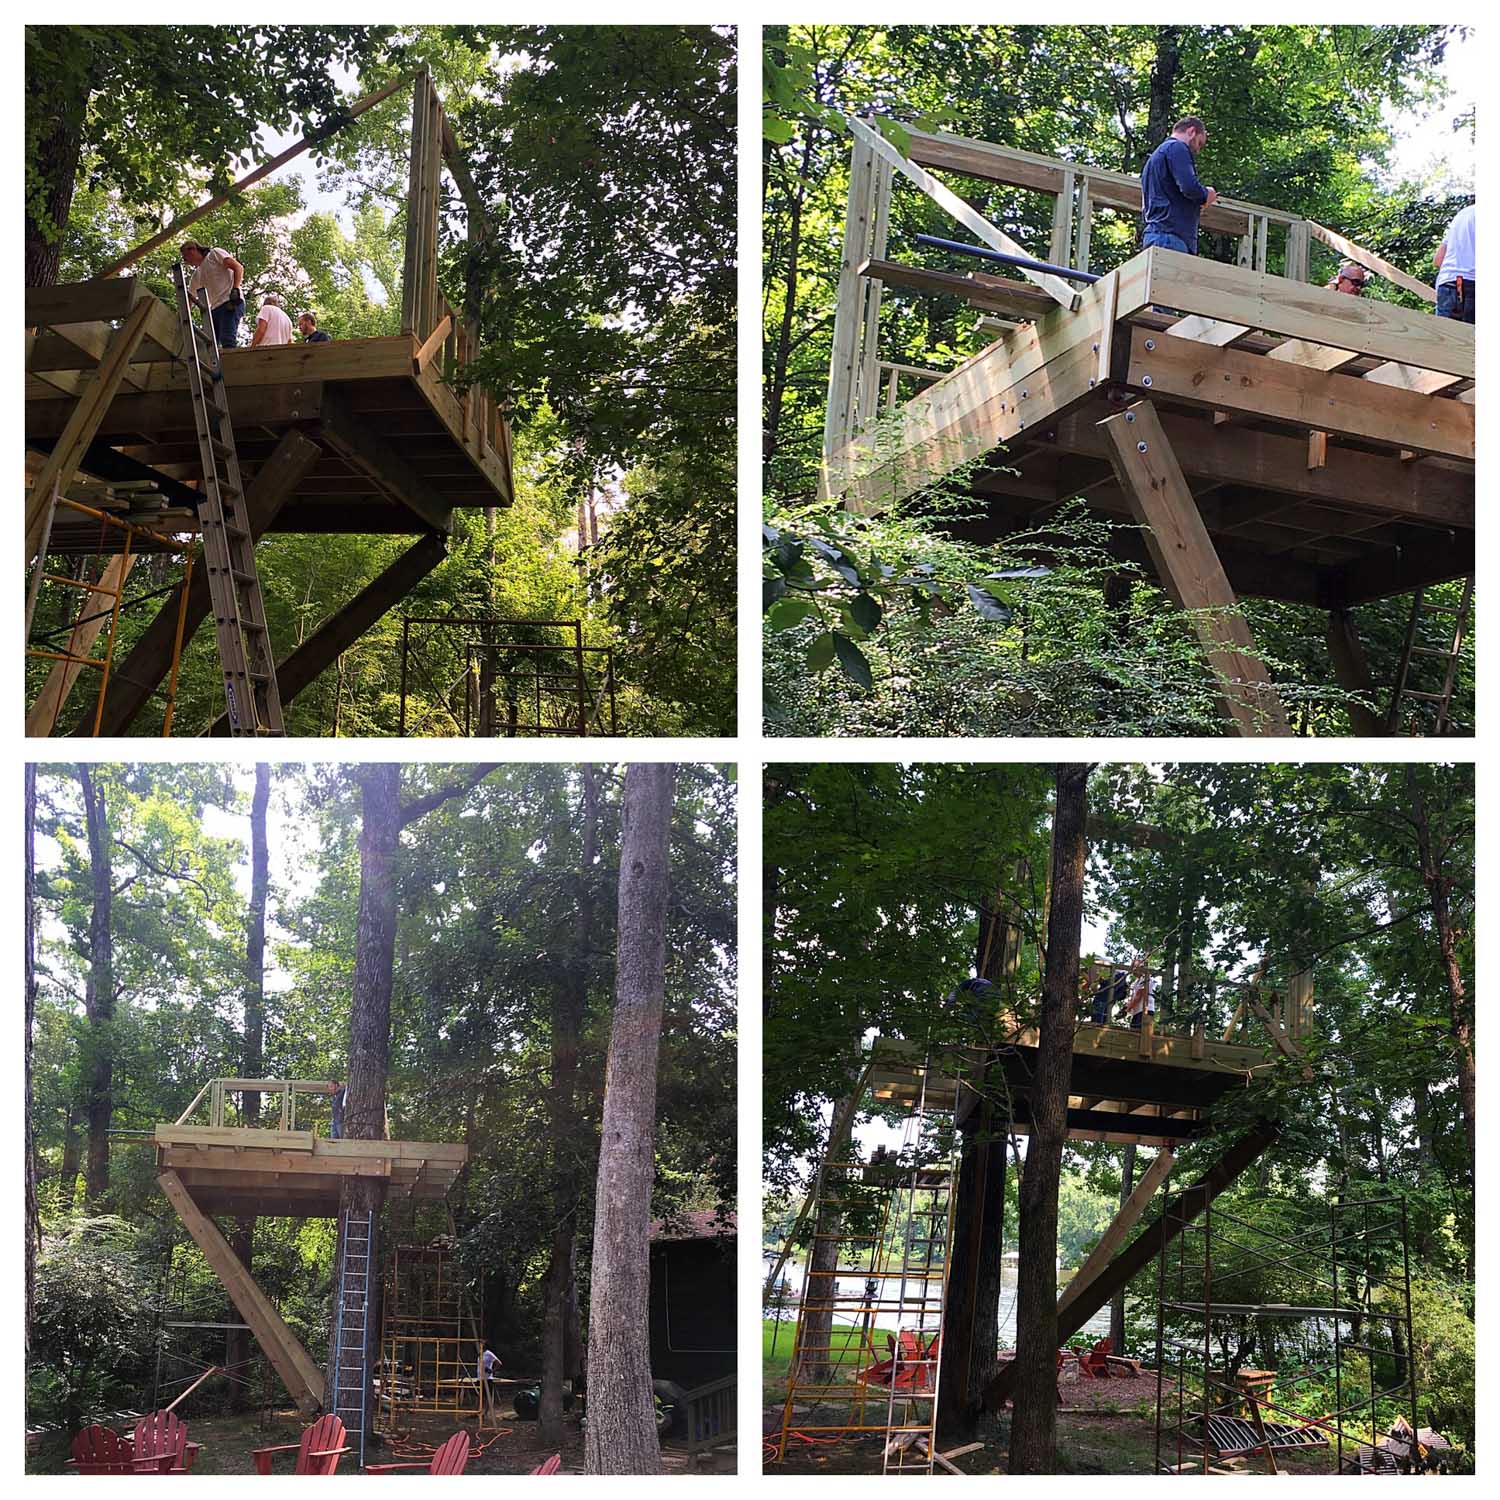 Photo By Bill F.
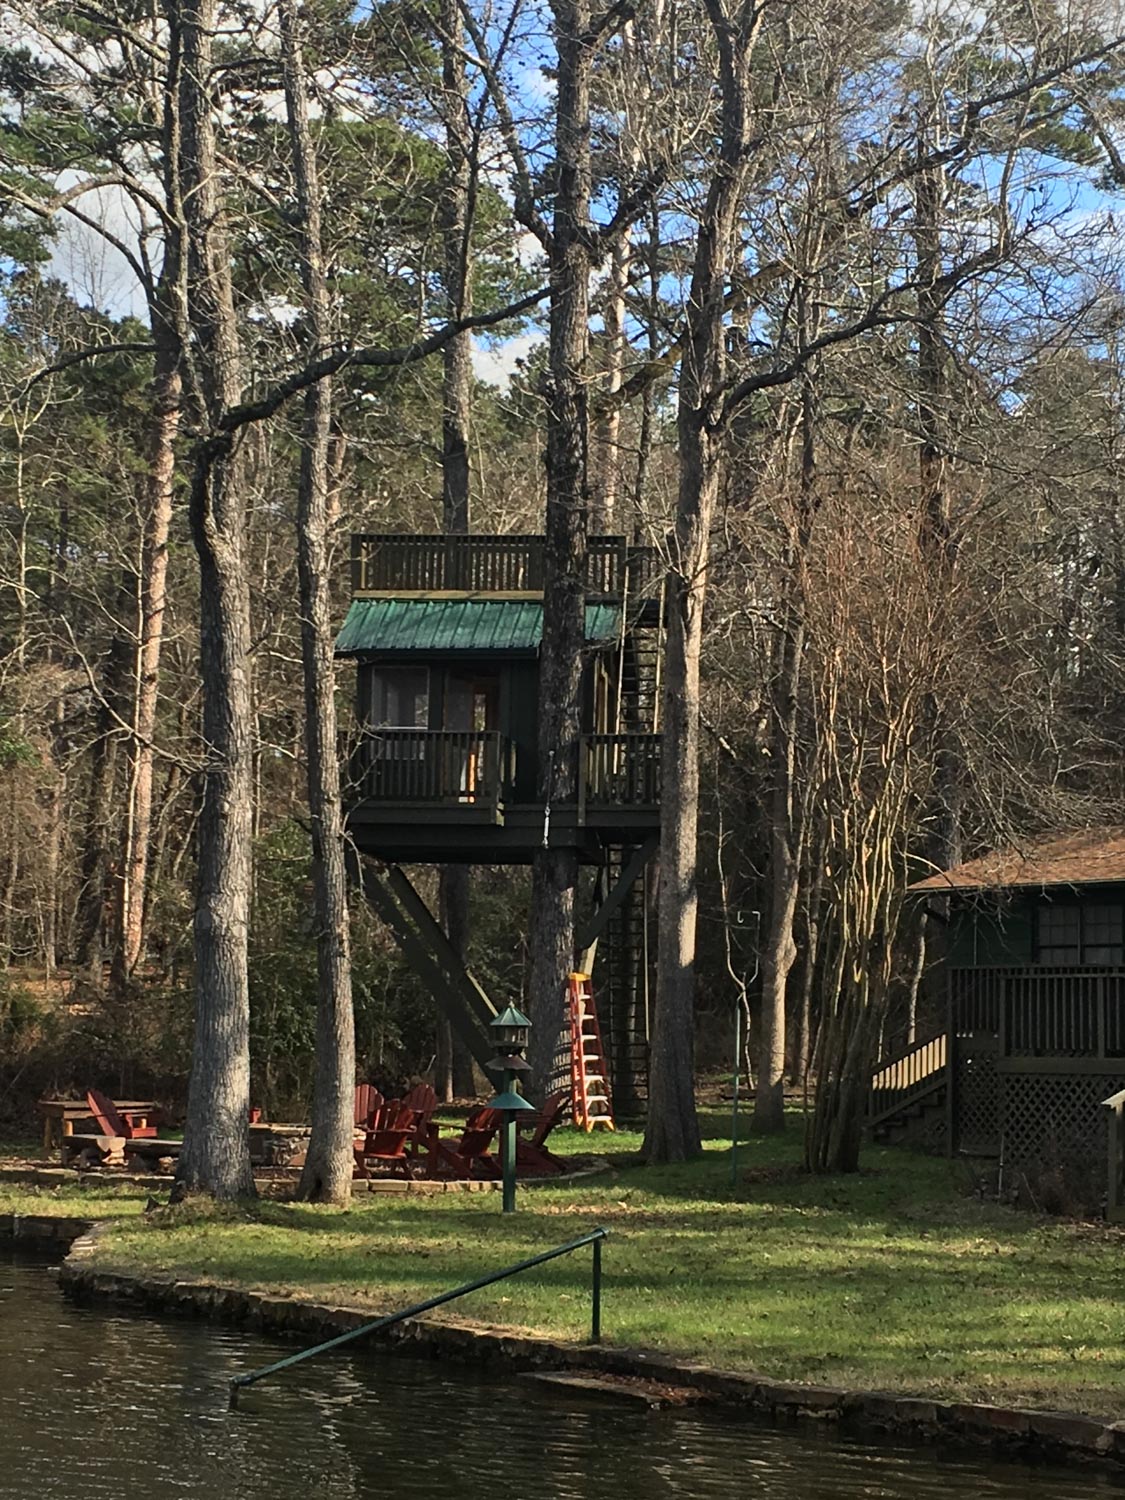 Photo By Bill F.
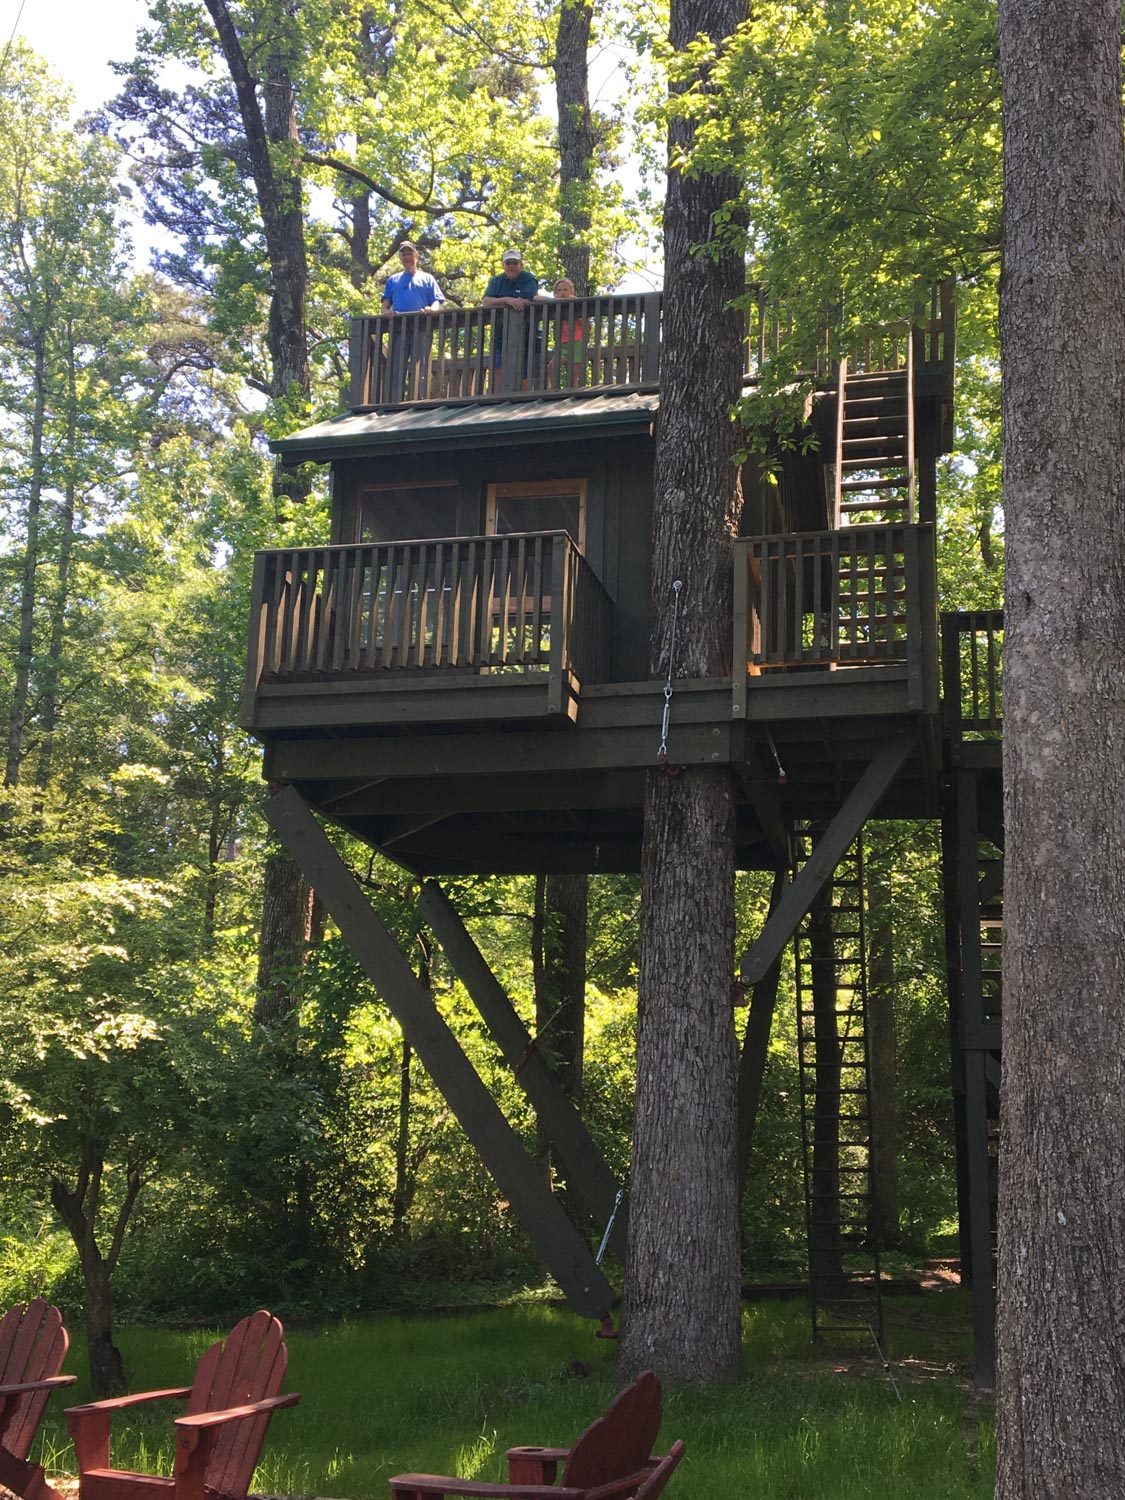 Photo By Bill F.
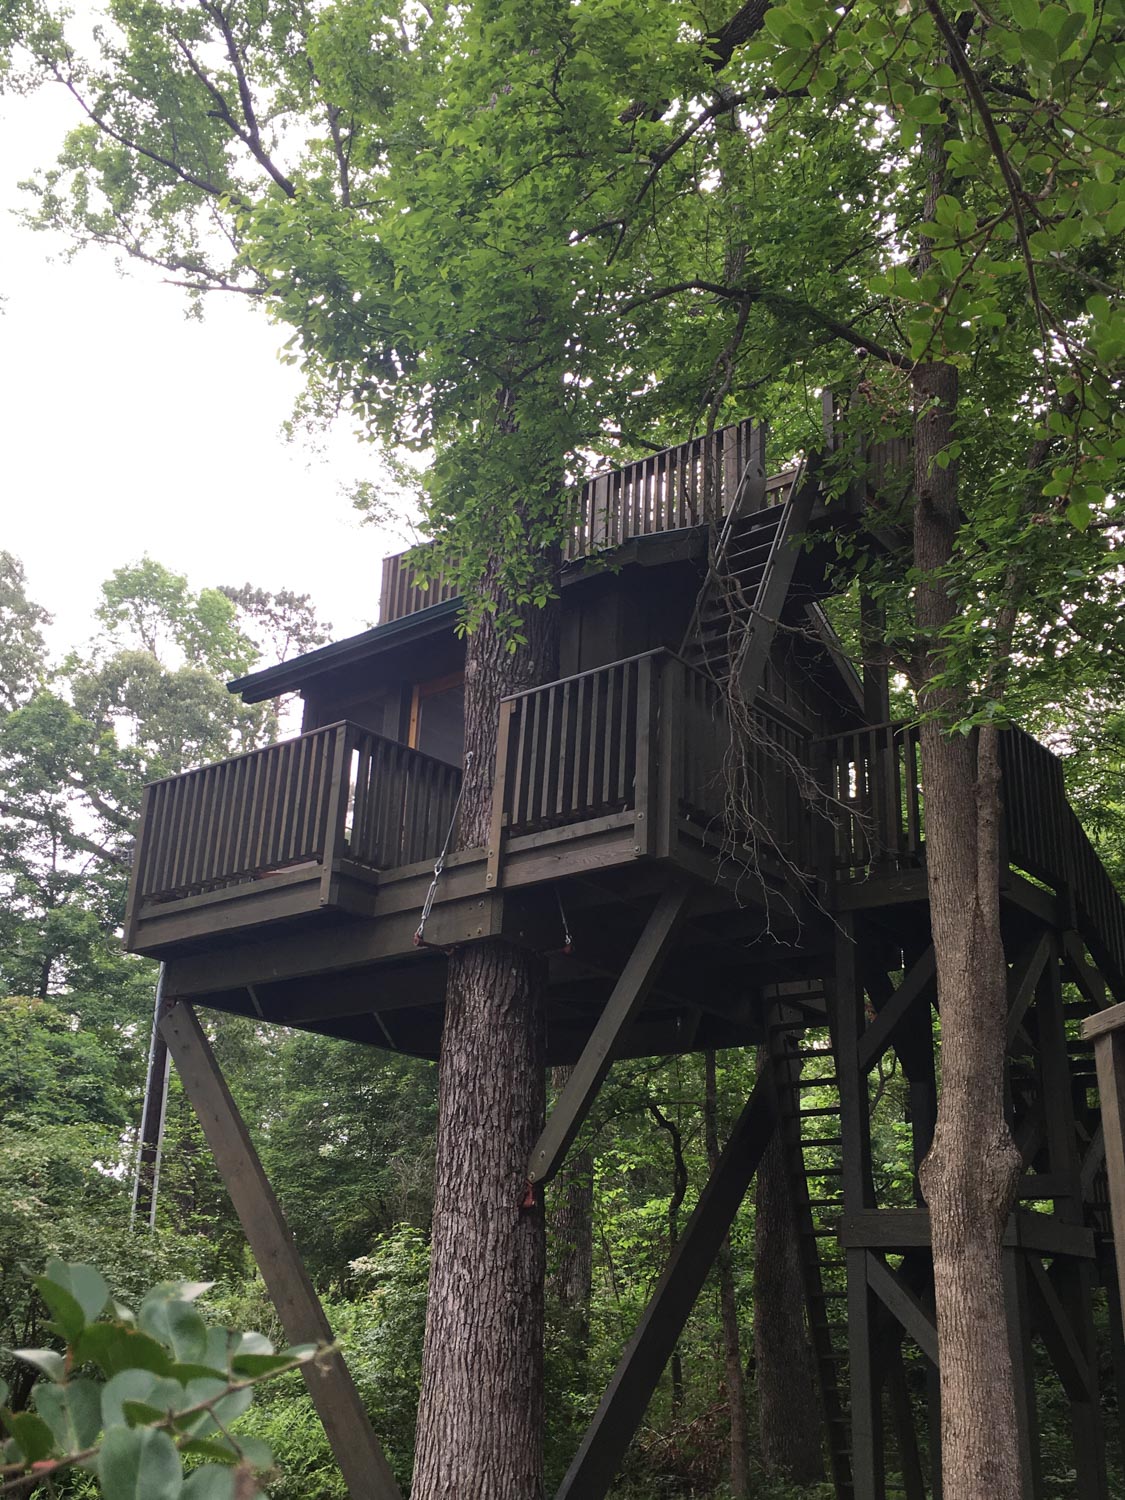 Photo By Bill F.
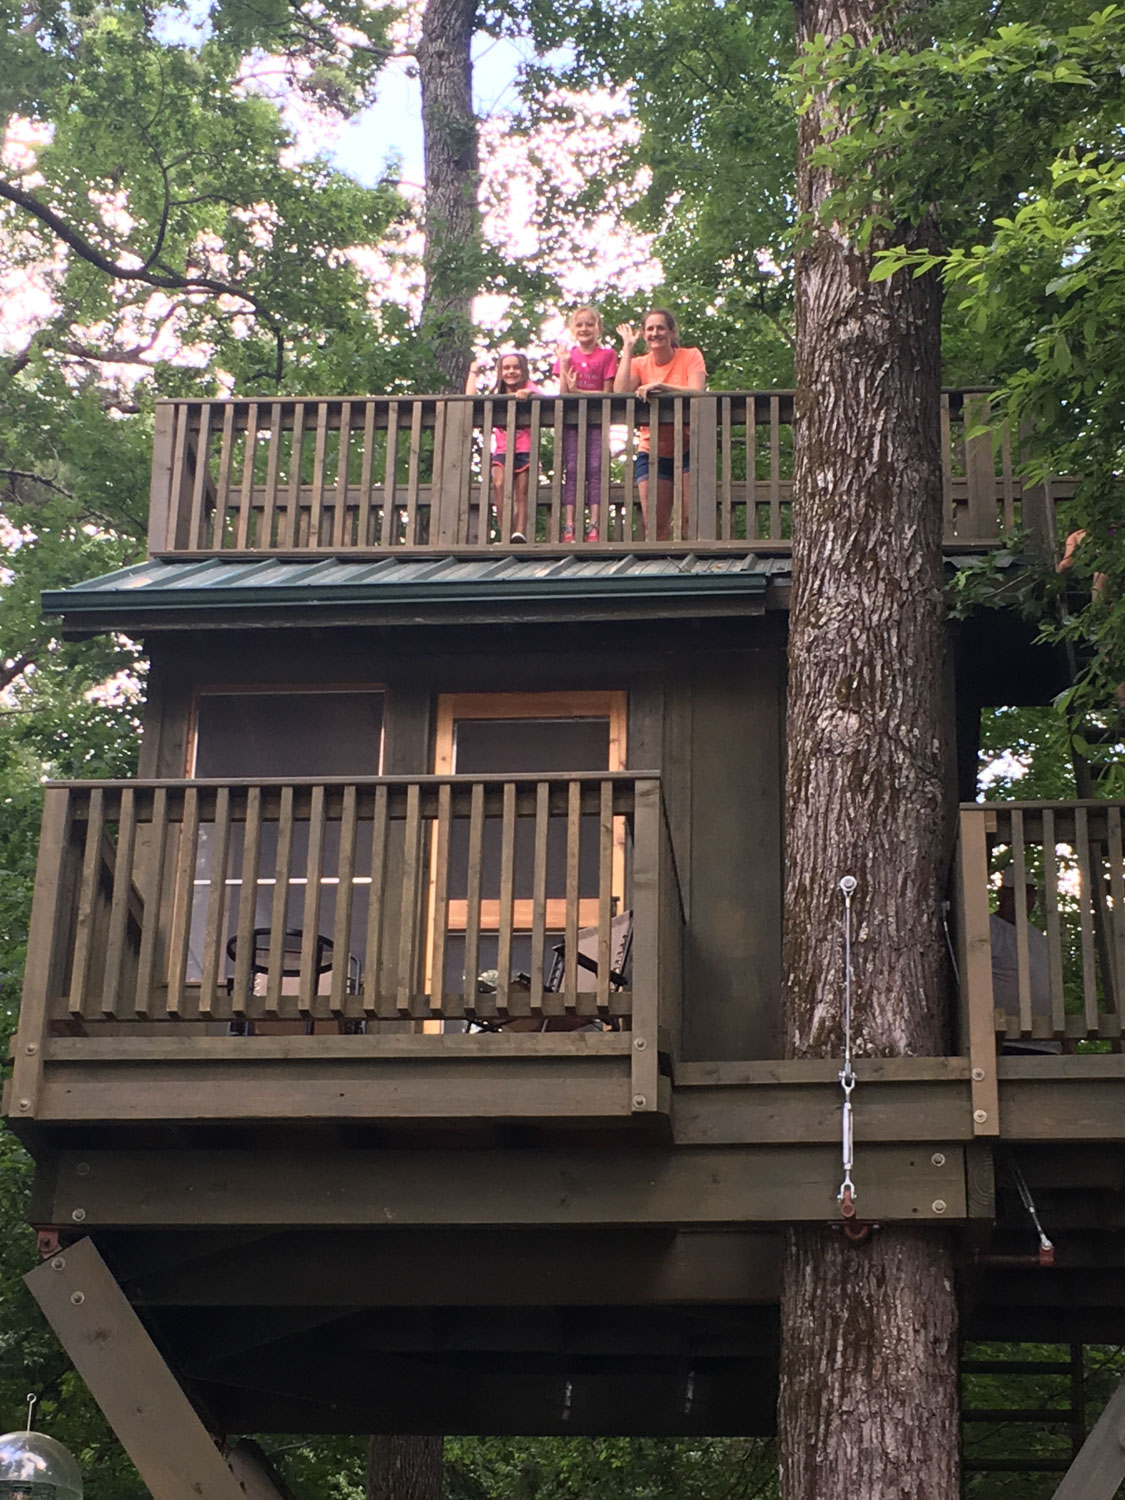 Photo By Bill F.
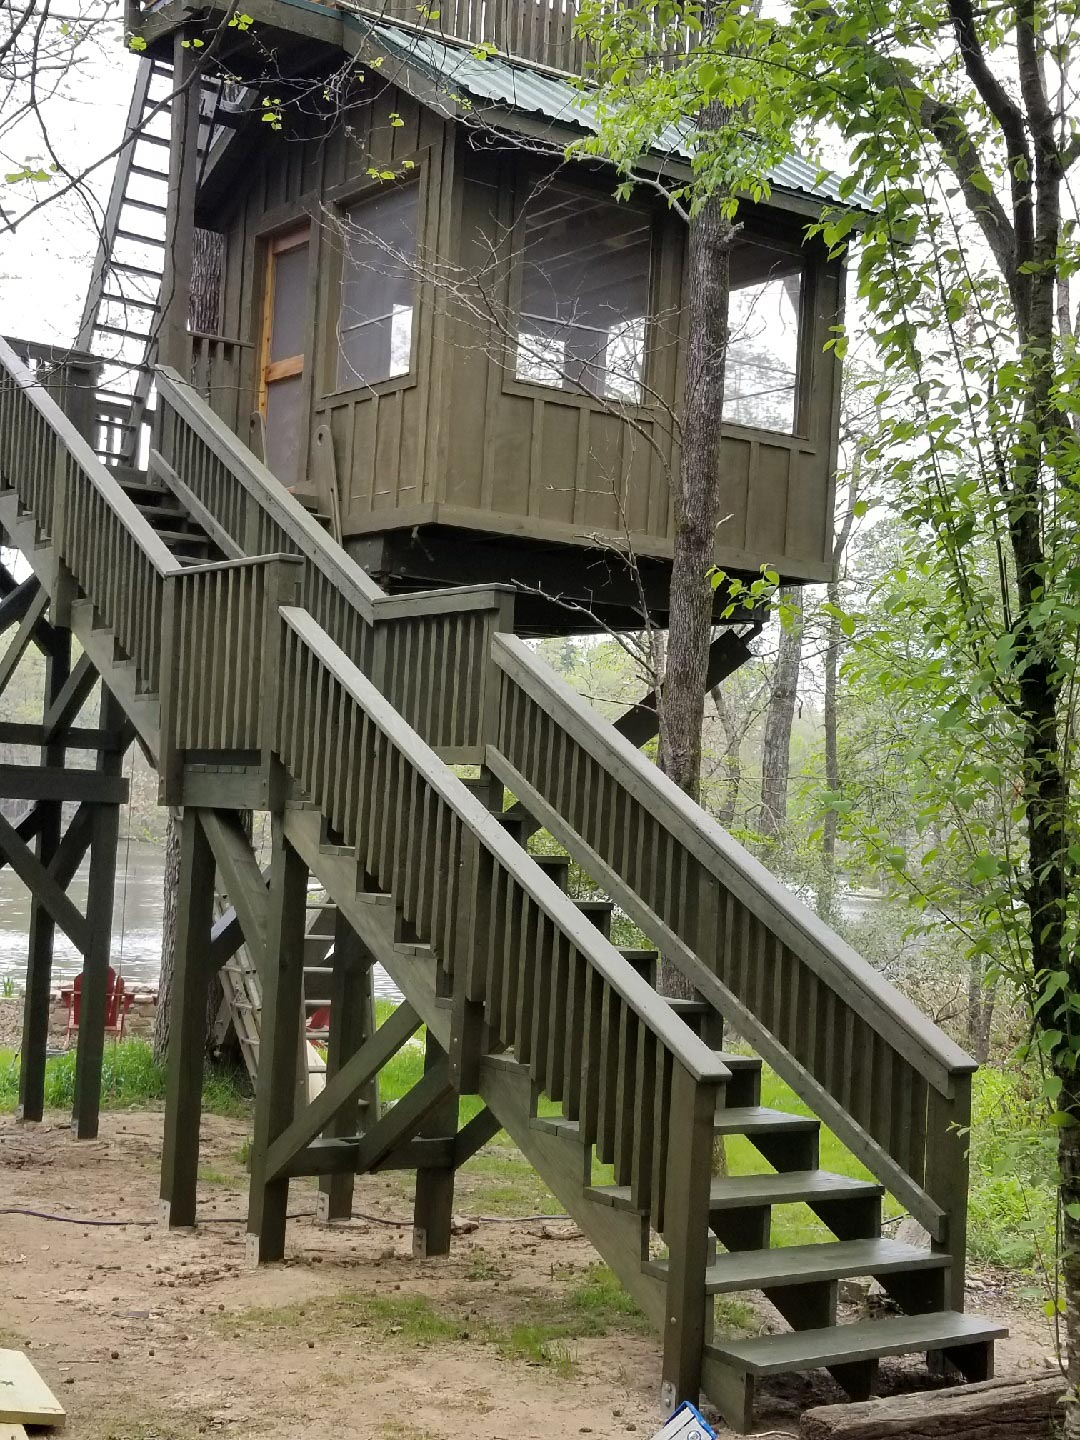 Photo By Bill F.
Bill would like to thank the following folks for their crucial help in building the treehouse: Rudy Zachry, Dale Foster, Nick Brumley, Steven Krause, Gary Barbo, Josh Zachry.
Thanks for sharing your excellent build with us, Bill!
Mike E. contacted us a few years back to bring his backyard treehouse to life. Project Manager Daryl McDonald visited Mike’s site to consult him on tree selection and design. Daryl then drew up original plans, and Mike took it from there.
We love how Mike’s build involved many friends and family members—treehouses are best when they are true team efforts! Mike’s finished treehouse is the perfect hangout space for him and his sons.
Read Mike’s story in his words, below. The following photos and text are courtesy of Mike.
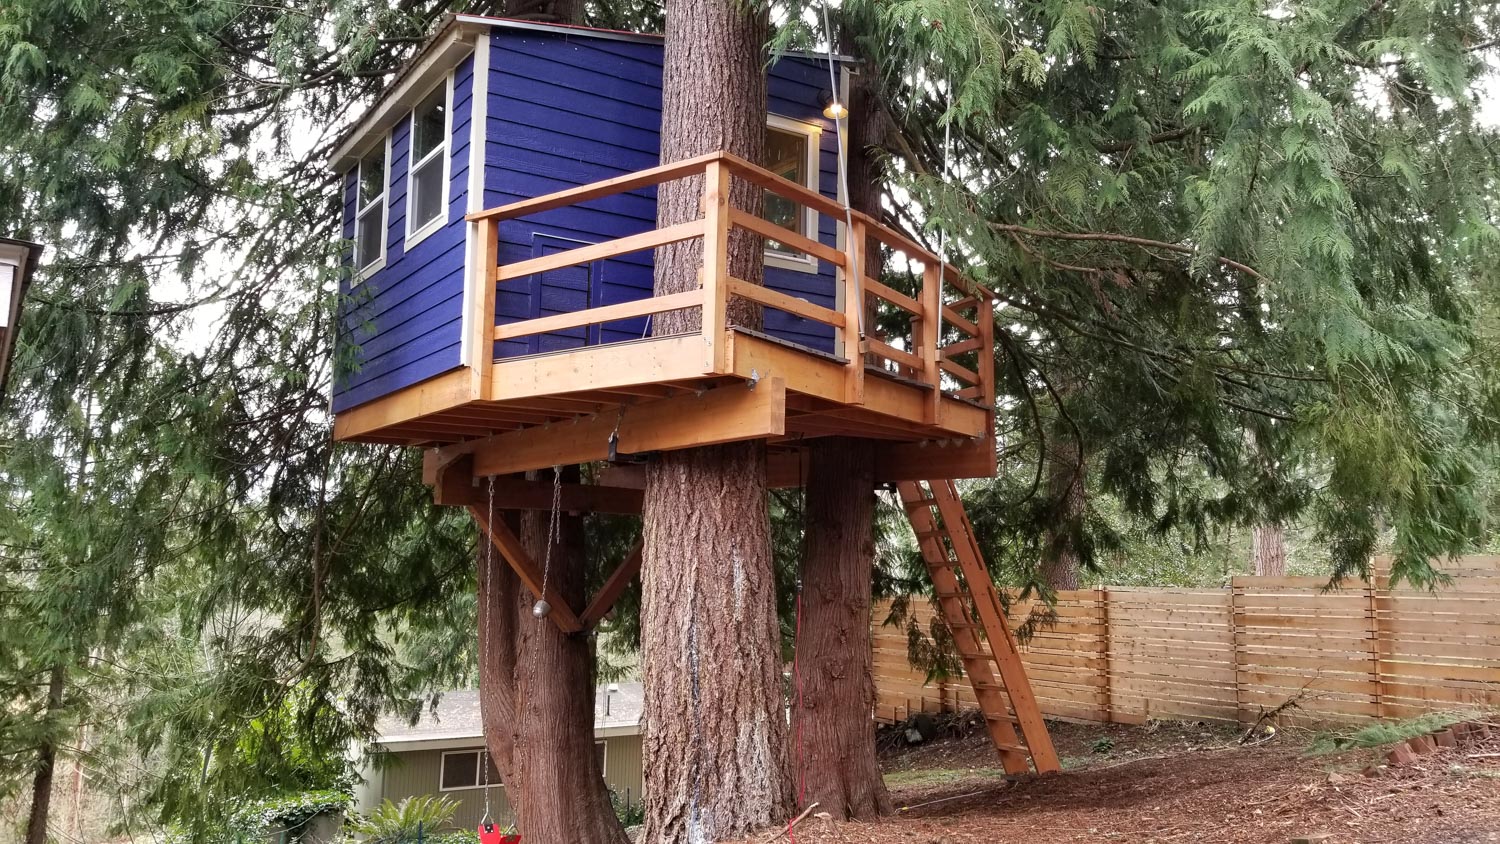 Photo By Mike E.
Mike: I wanted to build a treehouse for several reasons. First, it was an unrealized boyhood dream for me and I thought they were cool (that had a lot to do with it). Second, I wanted to make a space for my boys to do whatever: from studying, to having friends over, to learning an instrument. Third, I’m in marketing, so I do words and pictures for a living. I wanted to see if I could do something with my hands.
I started out with a consultation from Nelson Treehouse. Daryl came out and talked me through a few things that didn’t occur to me, like to check with the city to see how big I could go before needing a permit. I have a cedar with two trunks – Daryl helped me select the stronger of the two.
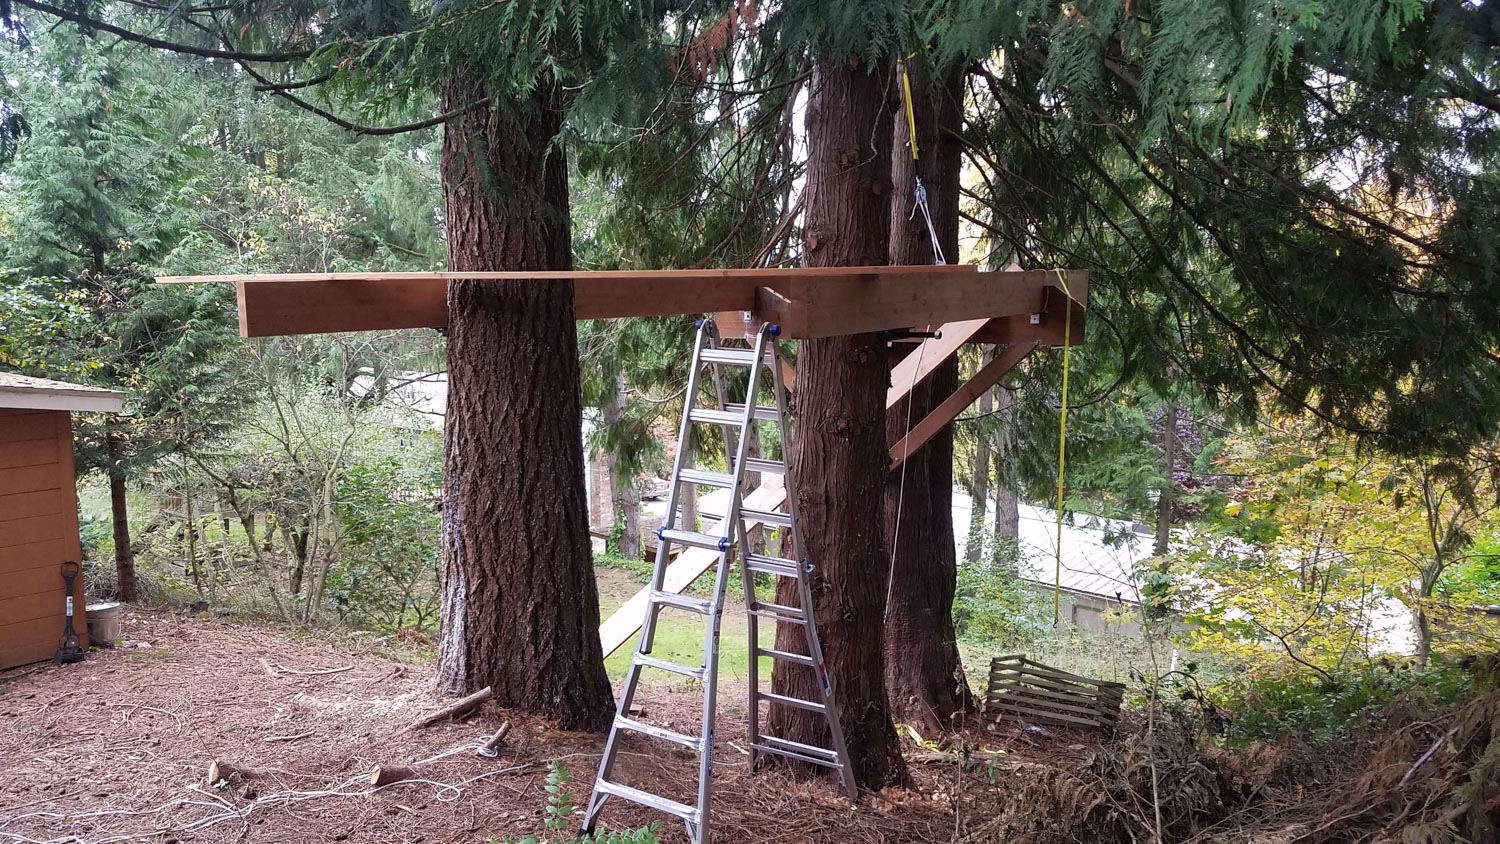 Photo By Mike E.
Mike: Various stages of hanging 2 x 10 boards across my 4 x 12 beams (pictured above and below).
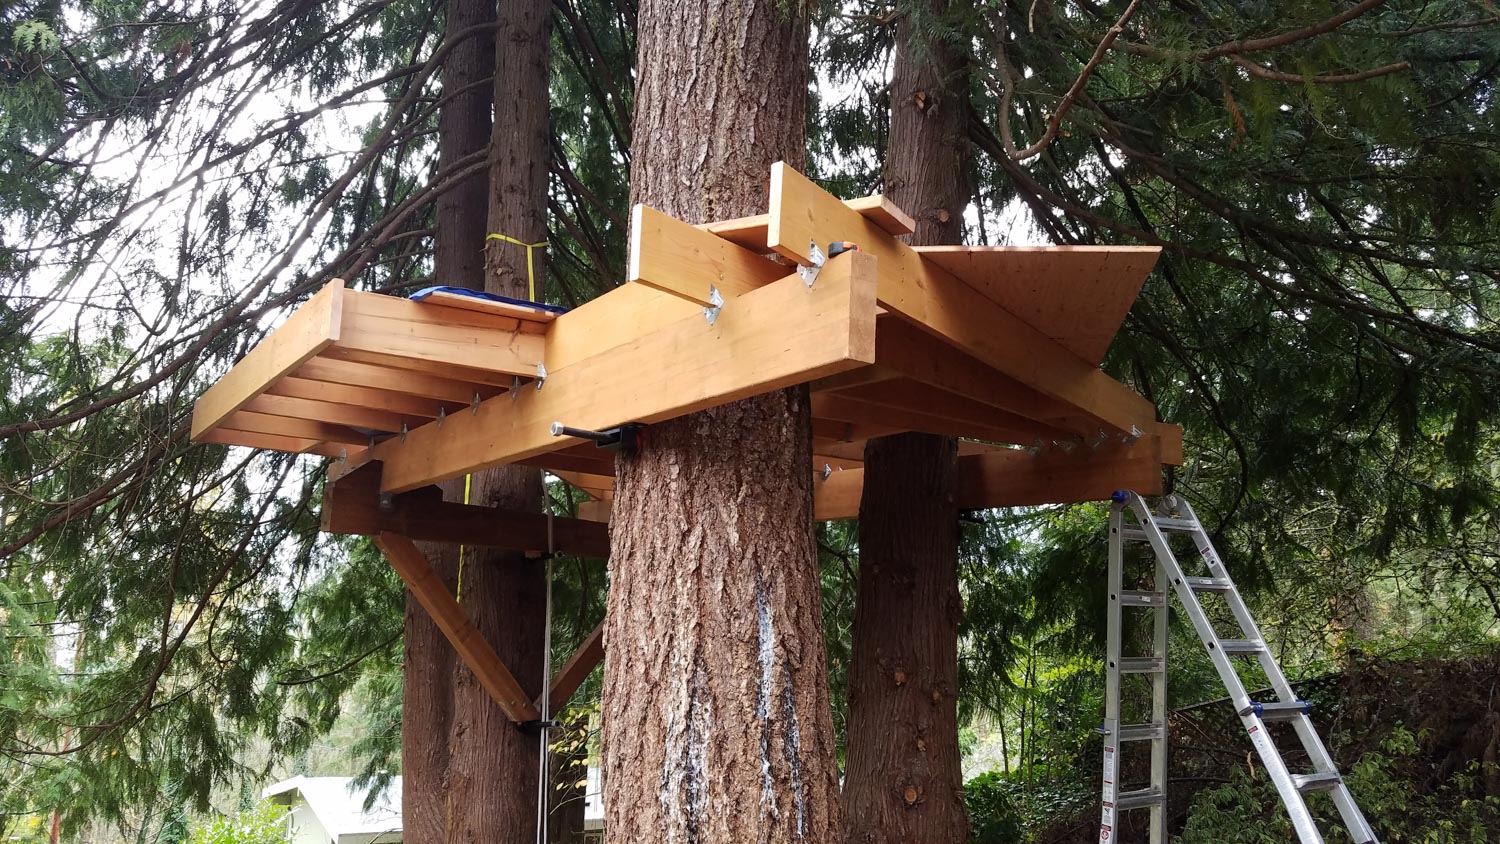 Photo By Mike E.
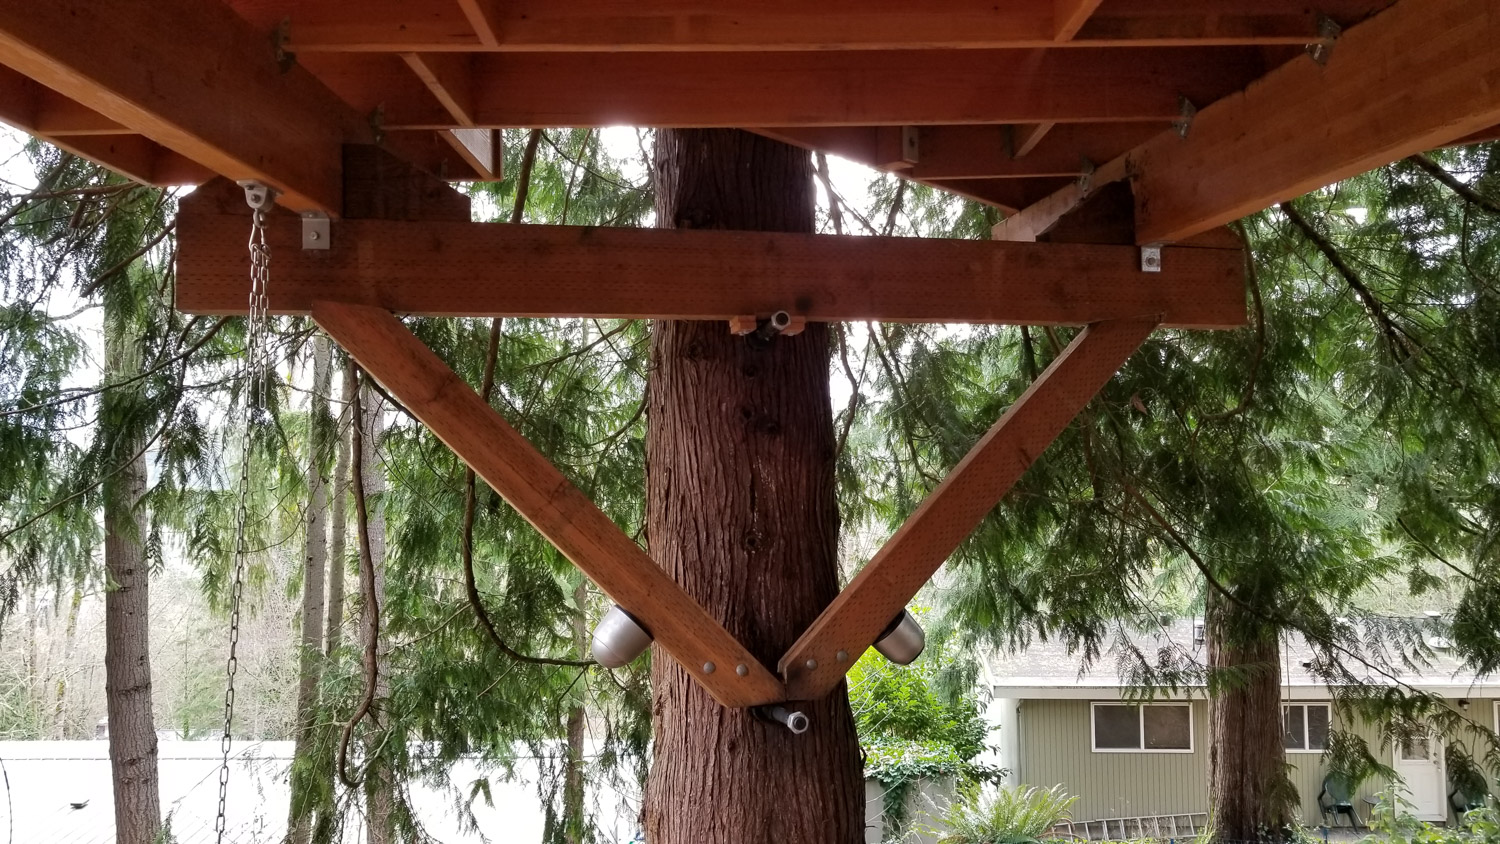 Photo By Mike E.
Mike: I started by installing the triangular brace that supports one side of the treehouse. This was a bear. I learned the hard way to hang the brace from the top TAB and then install the lower TAB. If you install both TABs first, your brace must be precisely measured and is extremely difficult to hang.
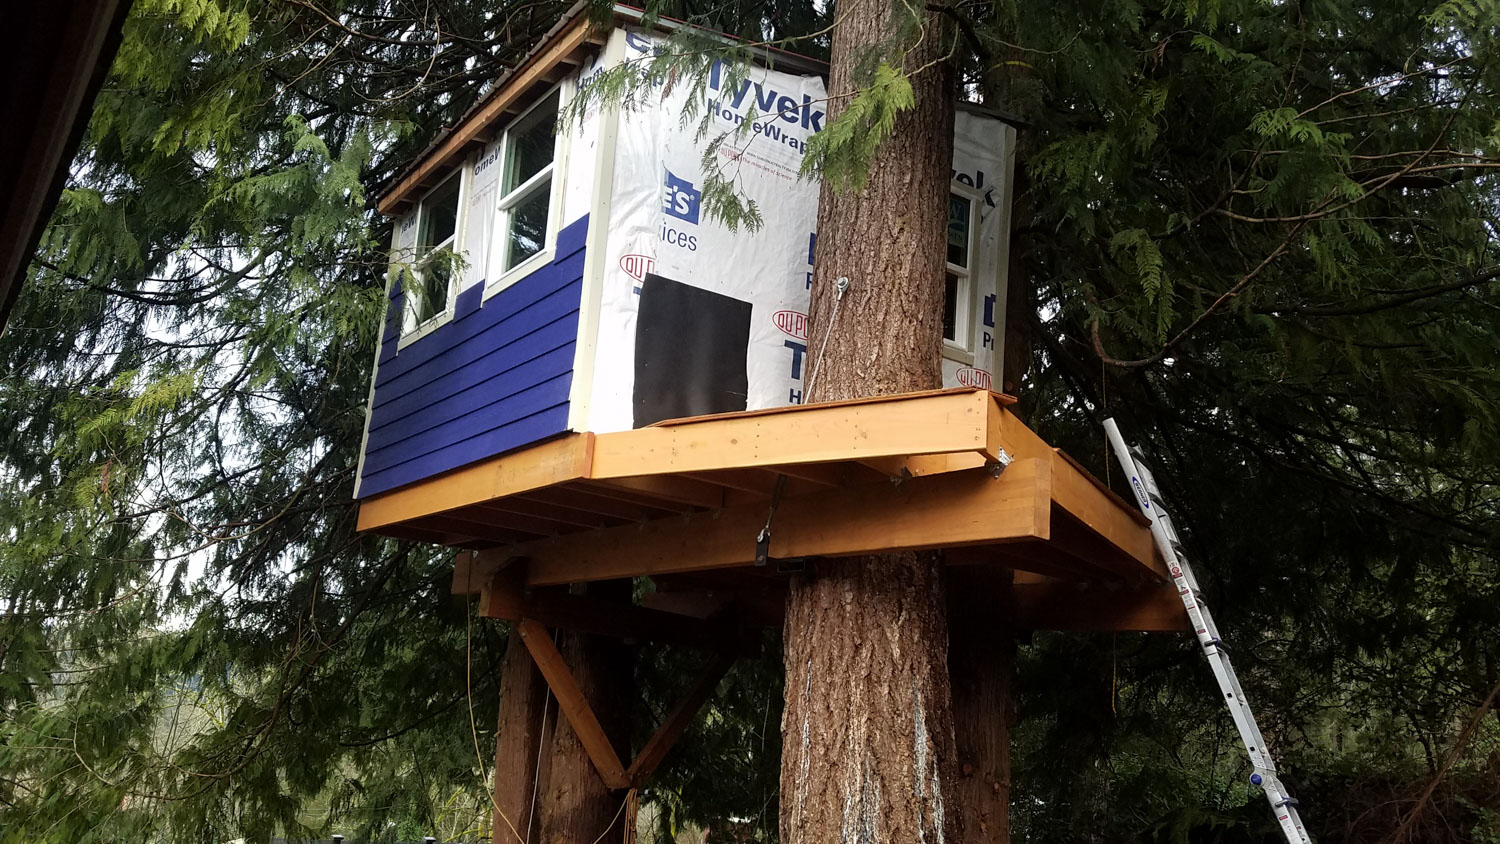 Photo By Mike E.
Mike: I built the walls in my garage—so I needed friends to help hoist them up and install on my platform. (Thanks Jose & Brett!) I also installed a metal roof with the help of my brother. (Thanks Shaun!) The roof was tough just because we were so high up—I was hanging off the edges in my climbing harness to get the last bits done.
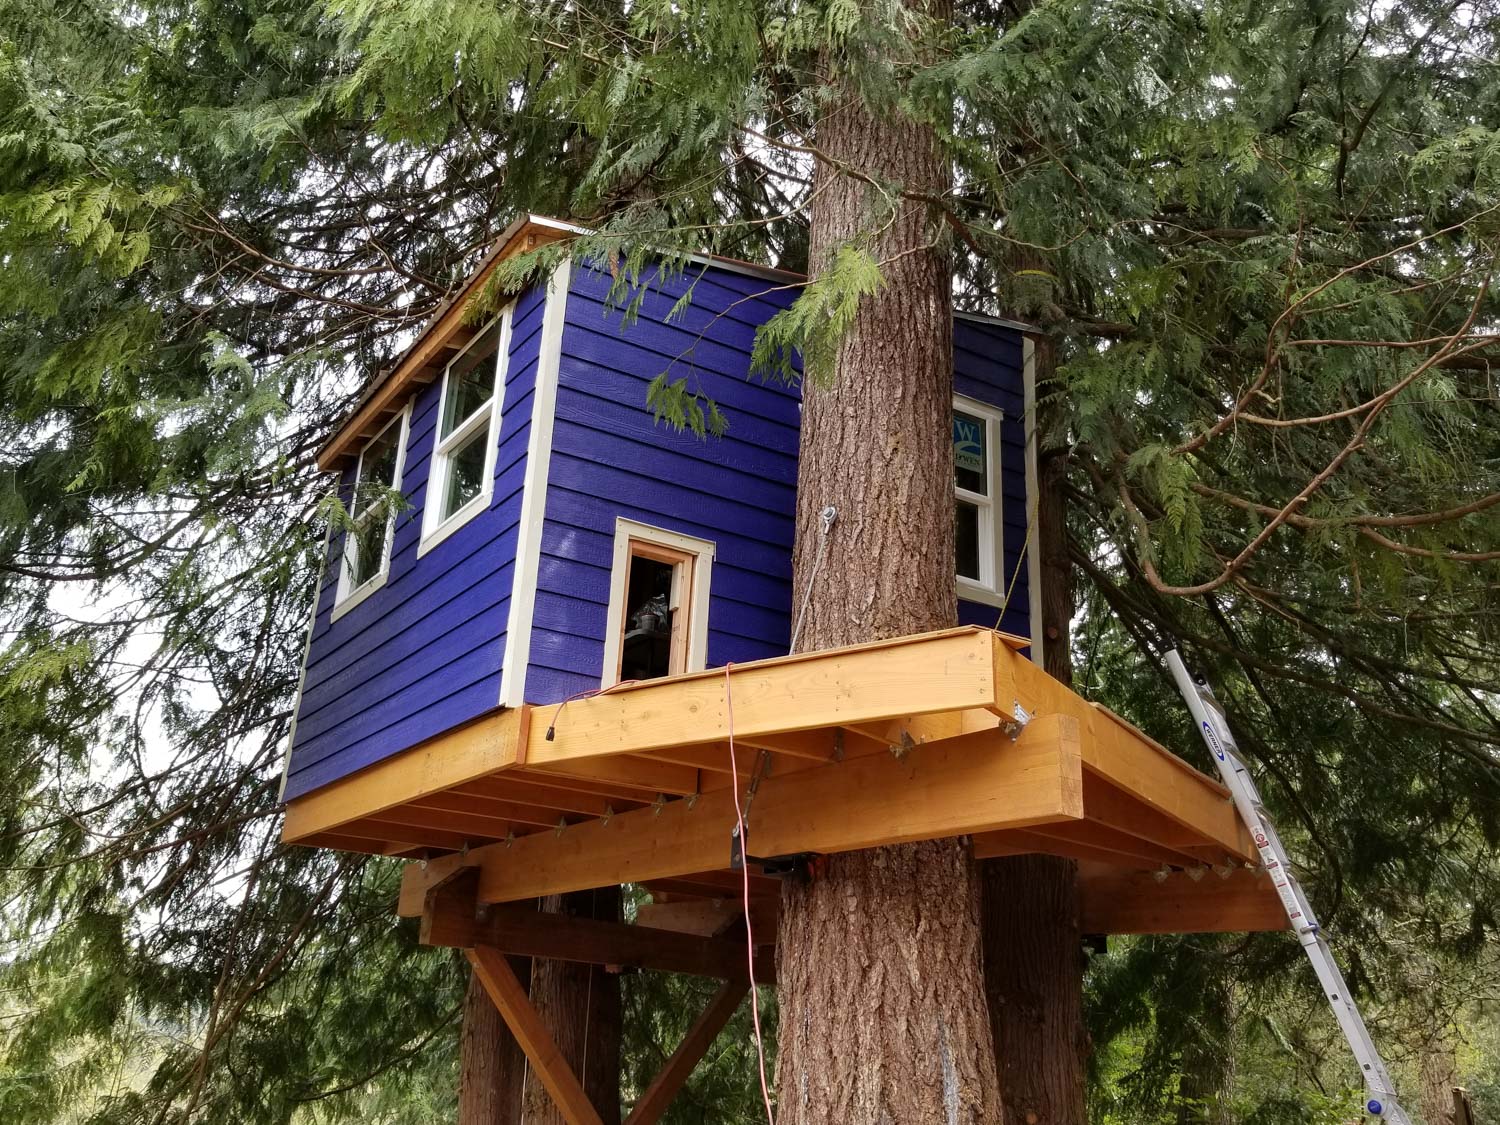 Photo By Mike E.
Mike: Notice the secret escape hatch? Built to be just the right size for an 8 year old!
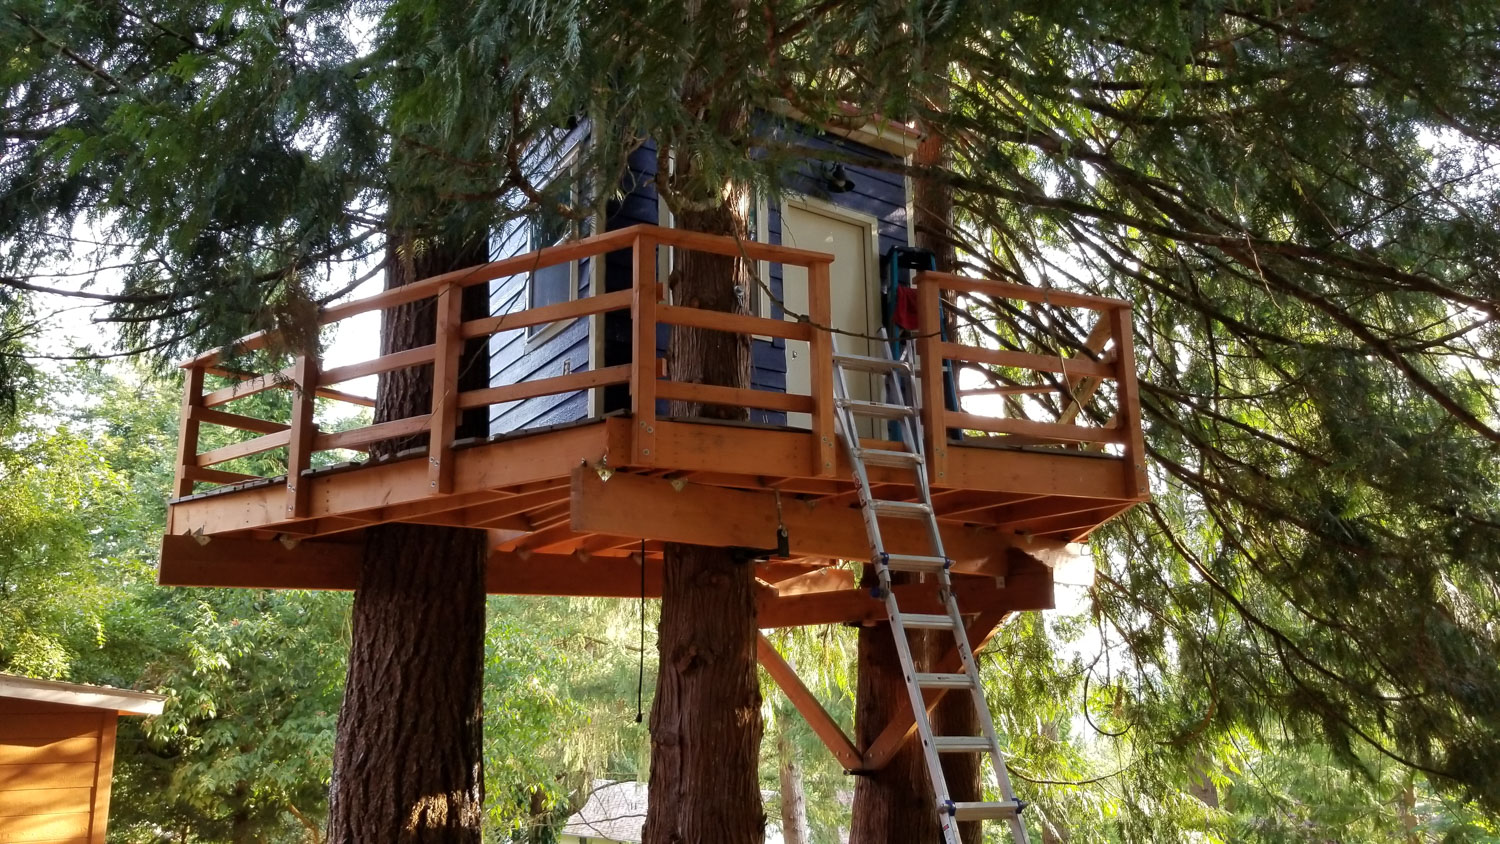 Photo By Mike E.
Mike: Nearly complete now, but needed to take back my metal ladder and replace with a permanent one. I used 2 x 10 boards and used a saw and router to carve out handholds to climb up the ladder. Saw Pete do it once, figured I would ”borrow” the idea.
(Note from Nelson Treehouse: we also offer handy ships ladder plans!)
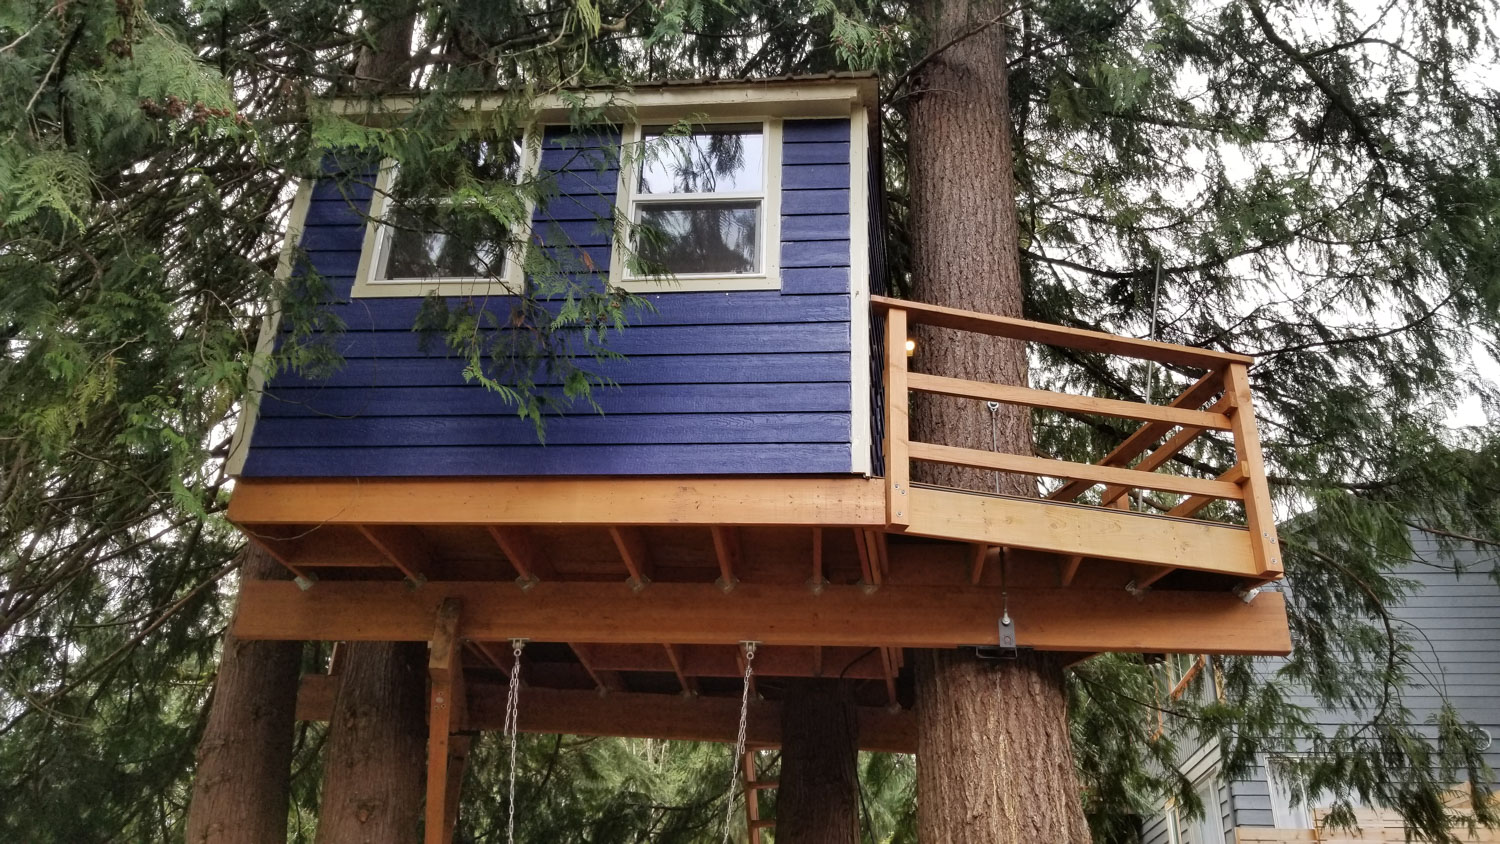 Photo By Mike E.
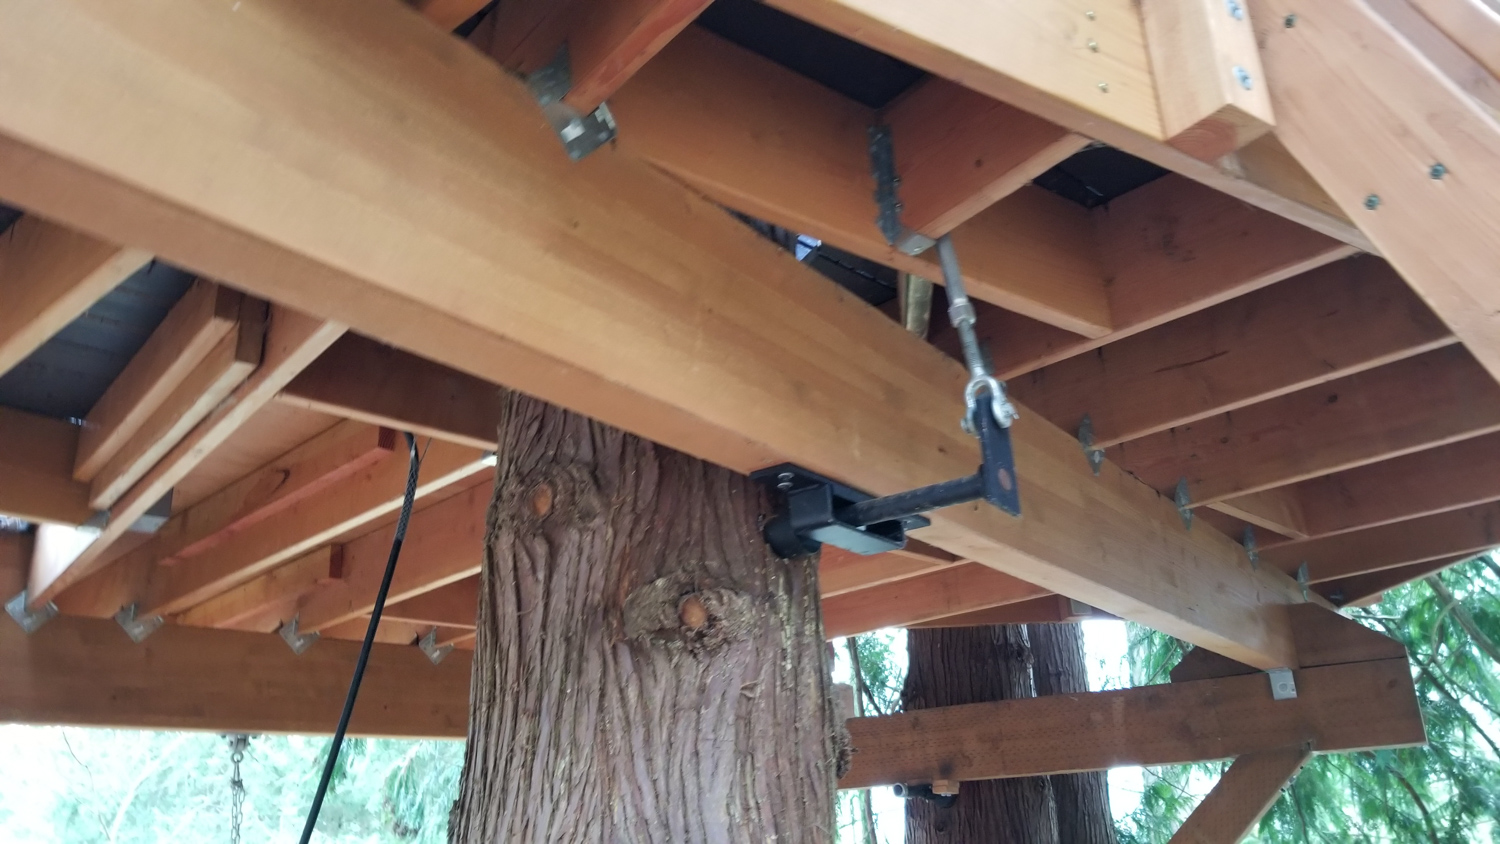 Photo By Mike E.
Mike: This shows off the structure and the TABs with the backup supports!
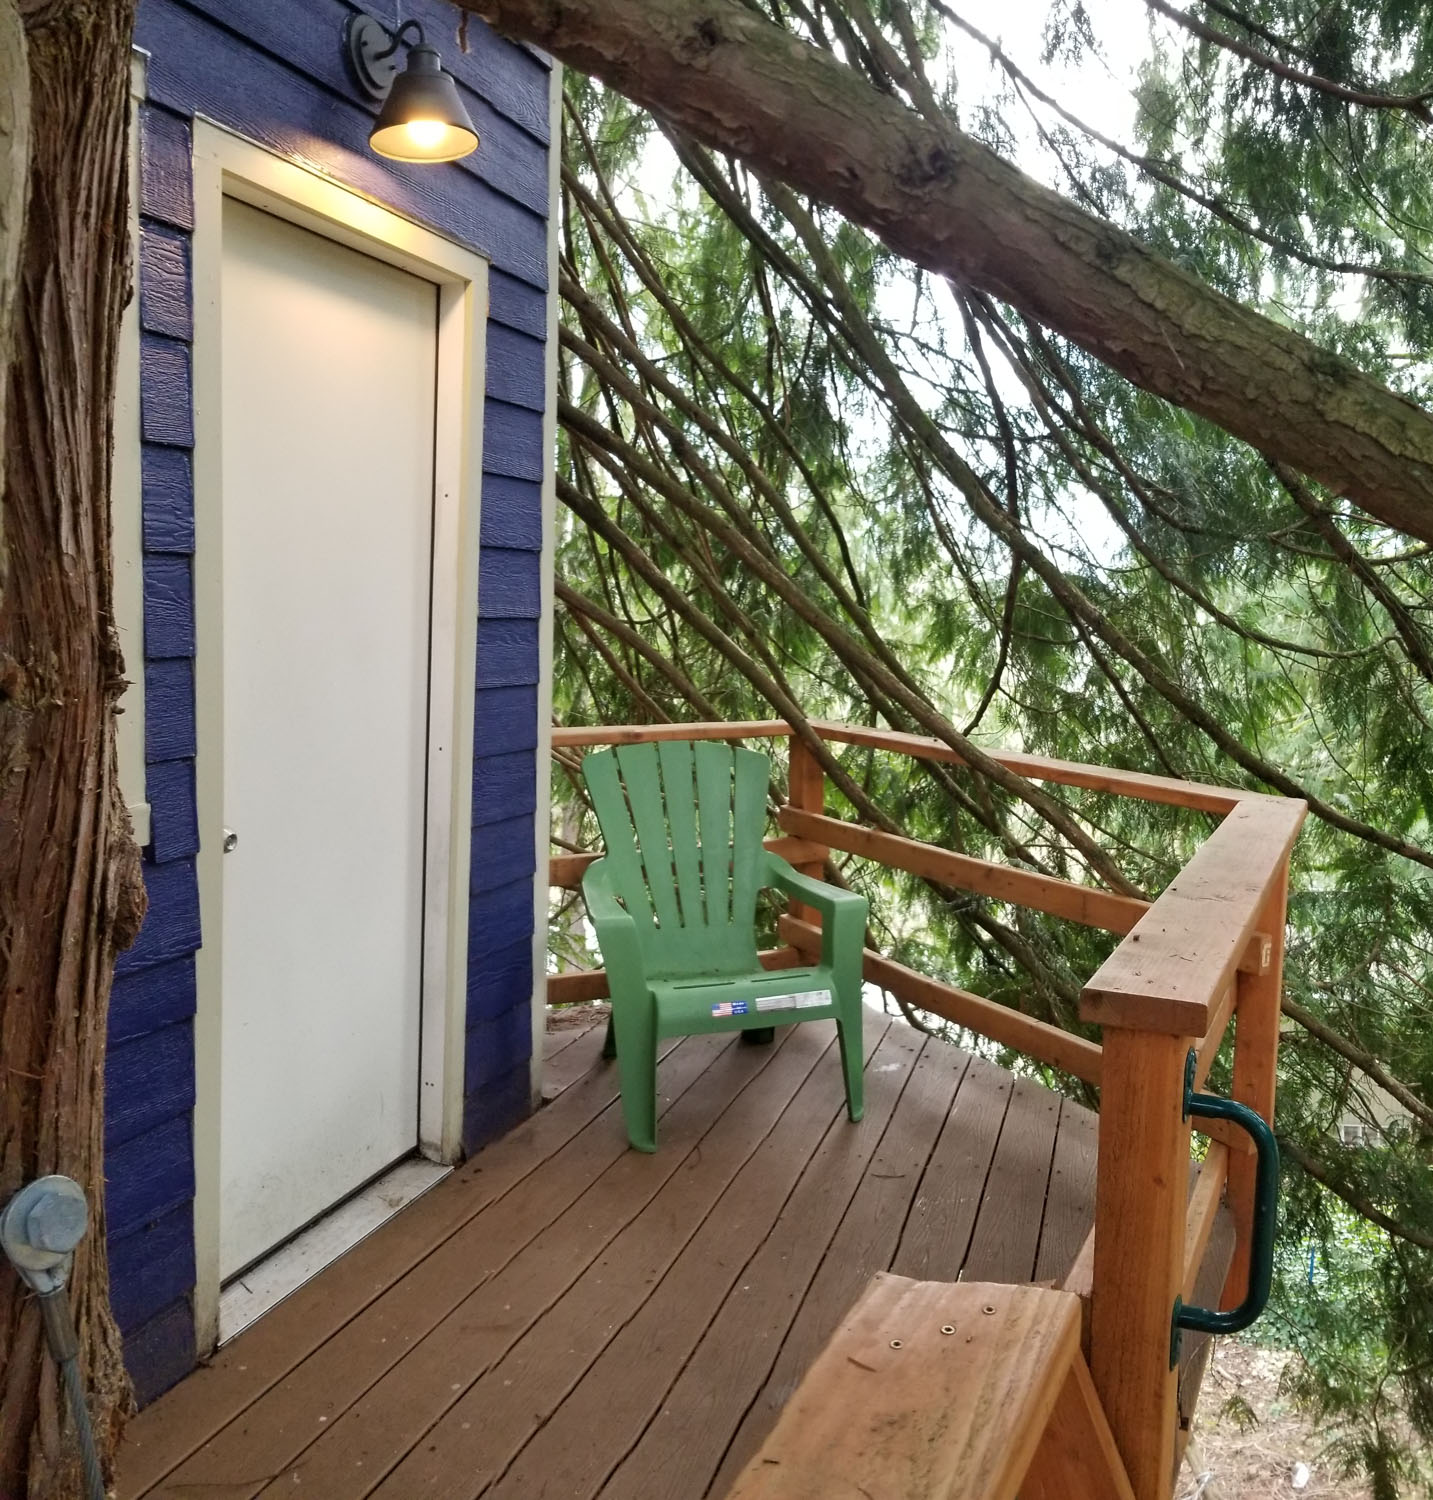 Photo By Mike E.
Mike: I have a friend who is an electrician that helped me out by wiring the treehouse. (Thanks Brett!) I used an extension cord from the main house to plug into the treehouse. We have eight electrical outlets inside, one external electrical outlet and two porch lamps—plenty of light and can even run a small heater to keep it nice and warm inside.
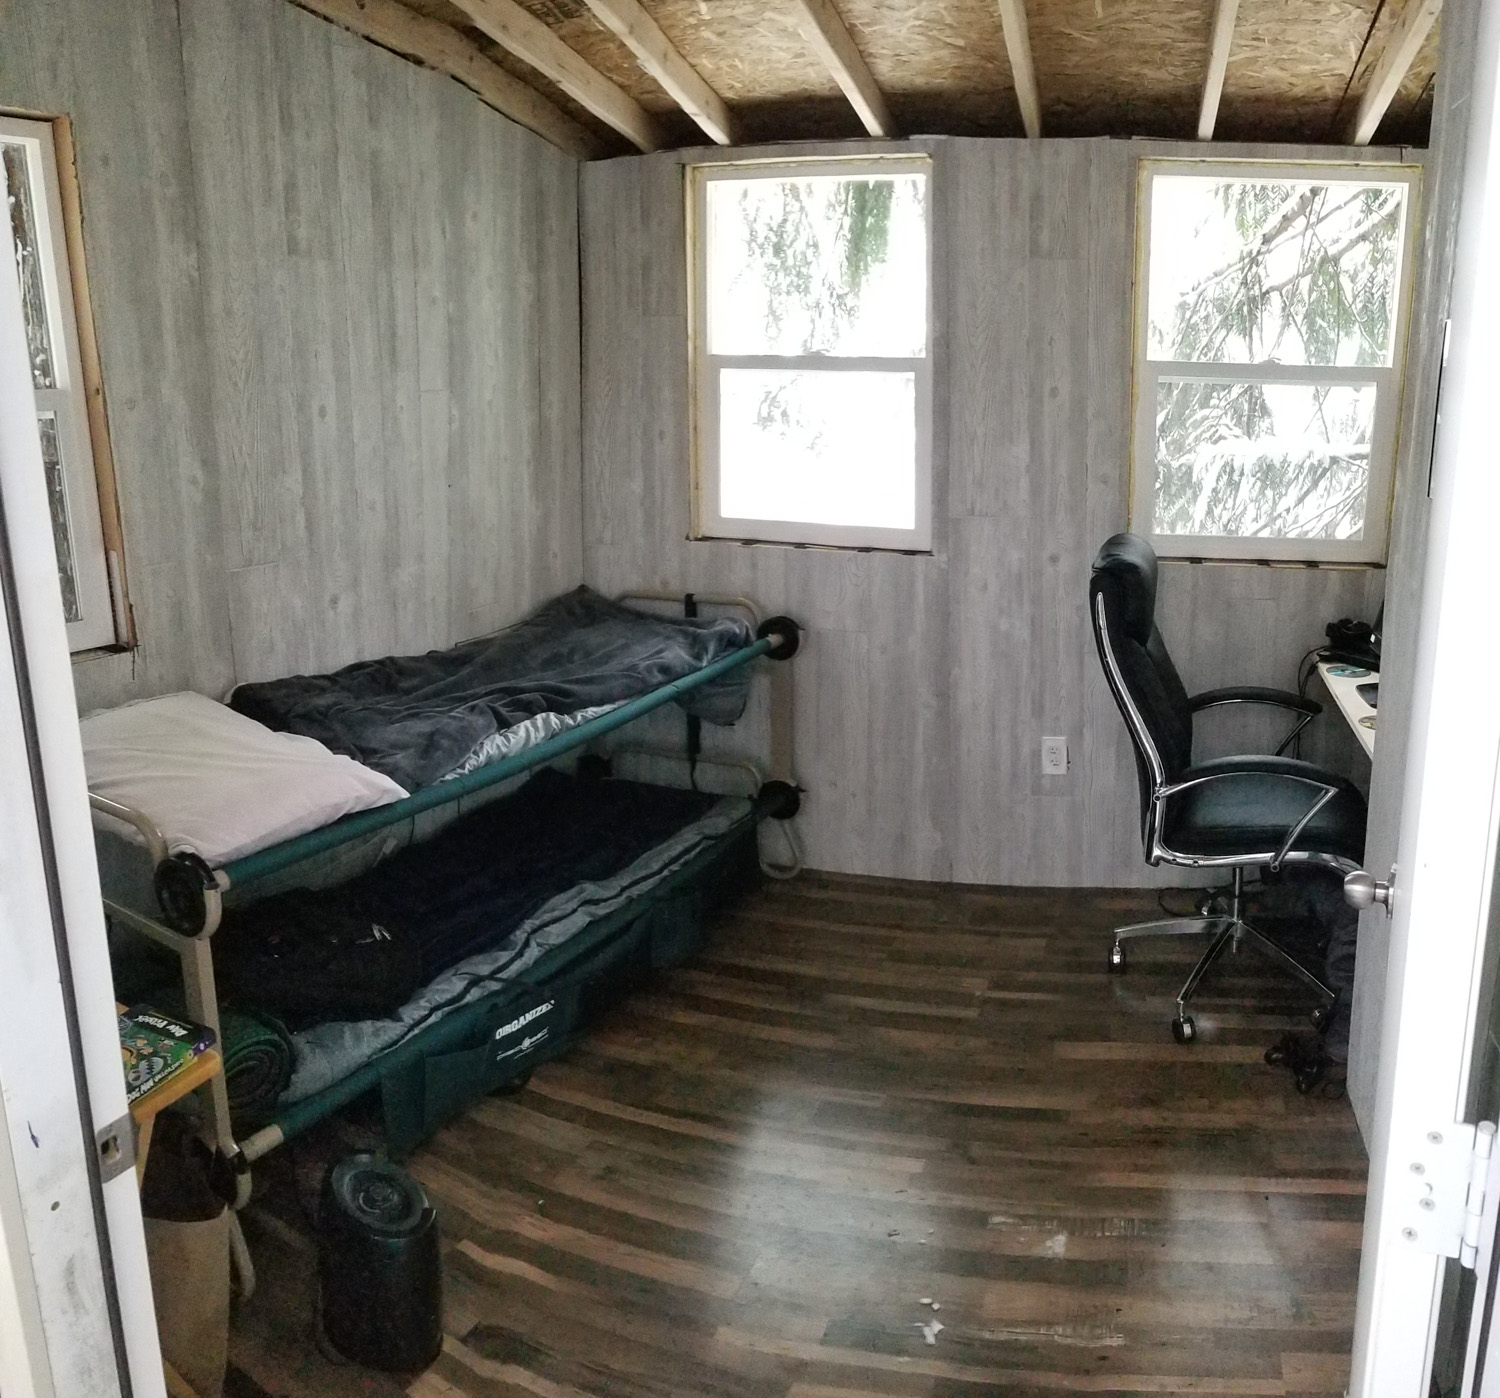 Photo By Mike E.
Mike: This shows off the inside. I finished with pergo floors, and you can see the bunk beds we use on the left with a desk bump-out to the right. It’s a great place for a sleepover or studying session—it’s more popular, however, when used as a place to play video games.
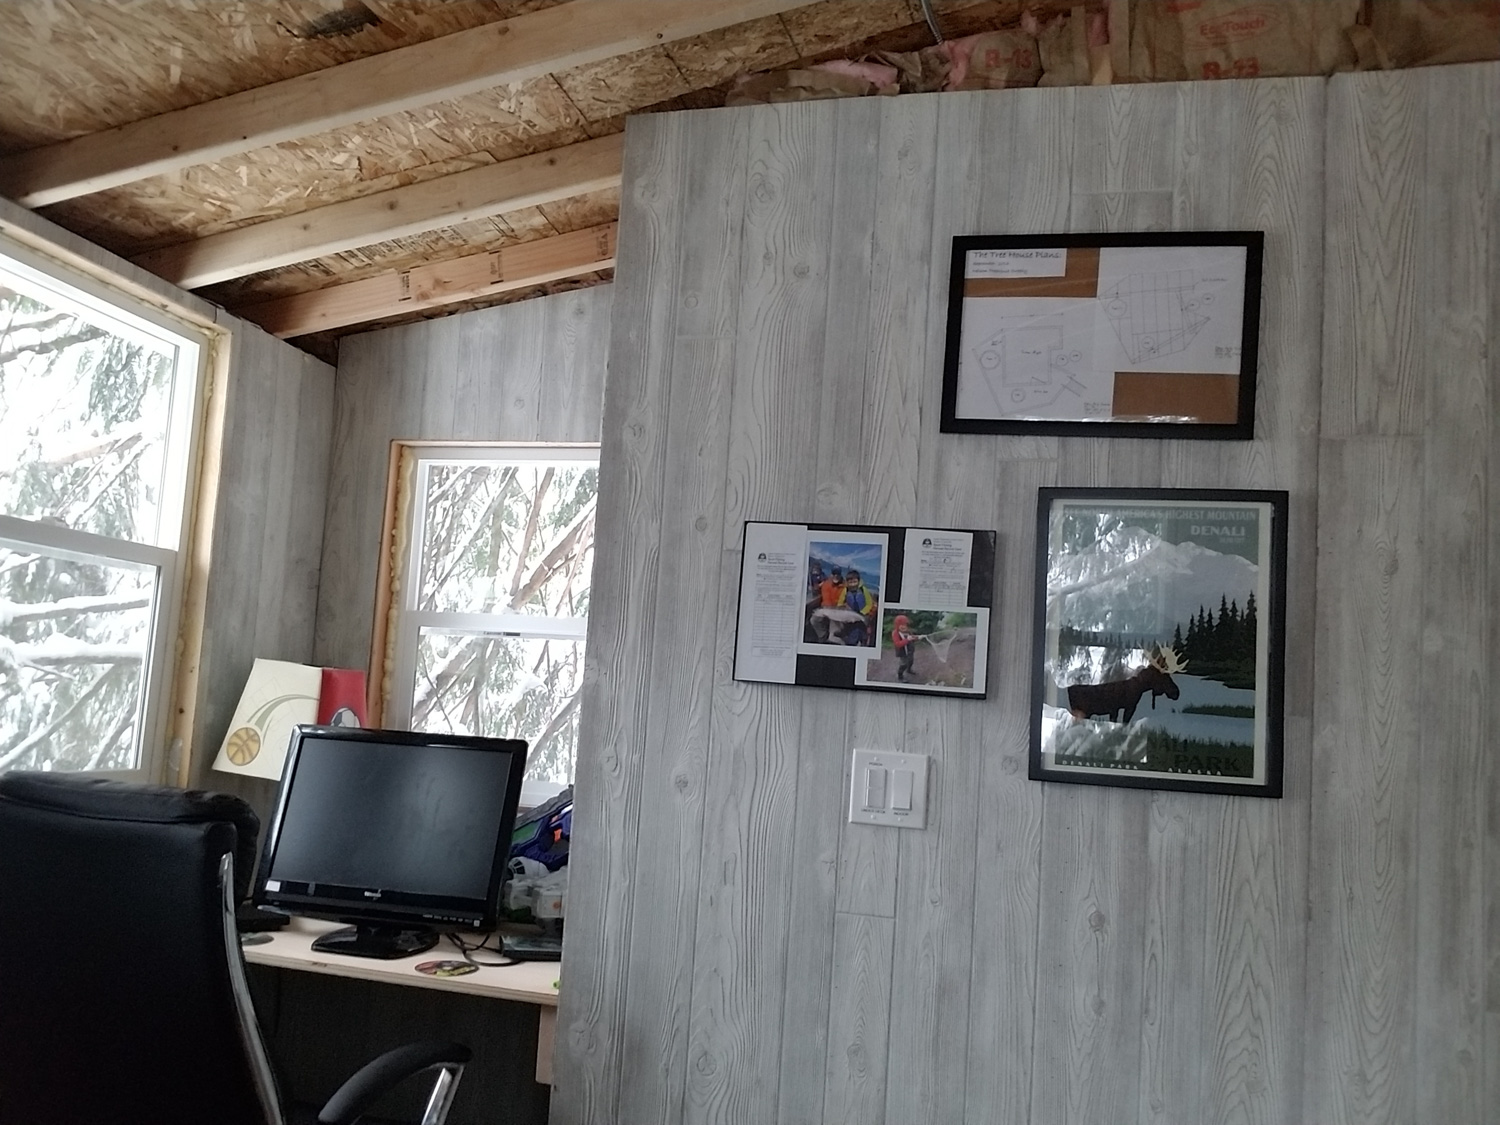 Photo By Mike E.
Mike: Note the pics on the walls: these are framed memories that will grow over time.
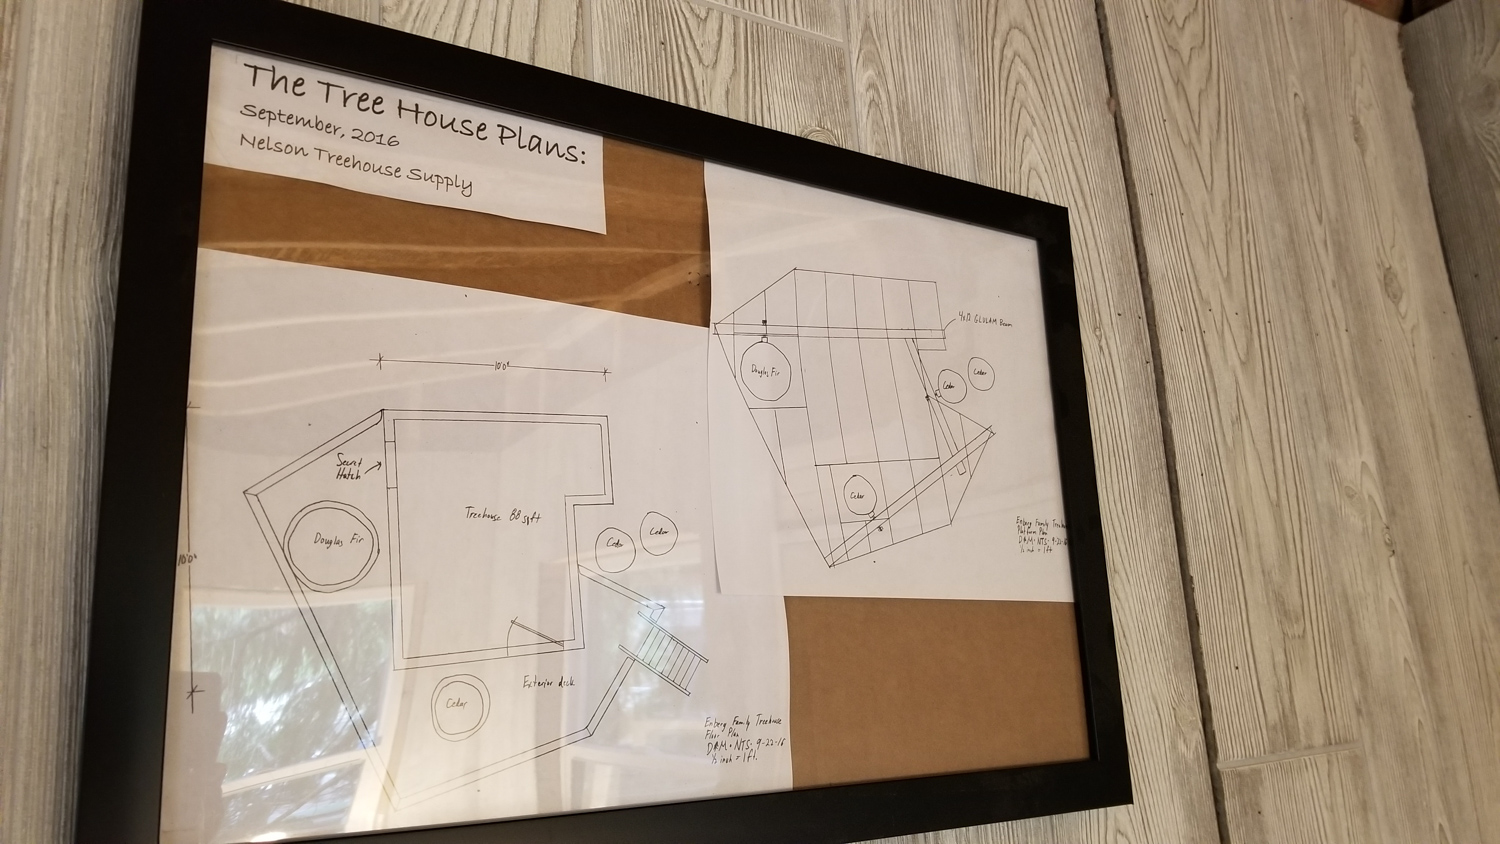 Photo By Mike E.
Mike: These are the original plans that Daryl provided to me after his consultation. I hang them here to show where it all started. I love seeing where this project started and where it ended. And I hope to show my boys that you can do anything if you just keep working at it (even if you’re in marketing).
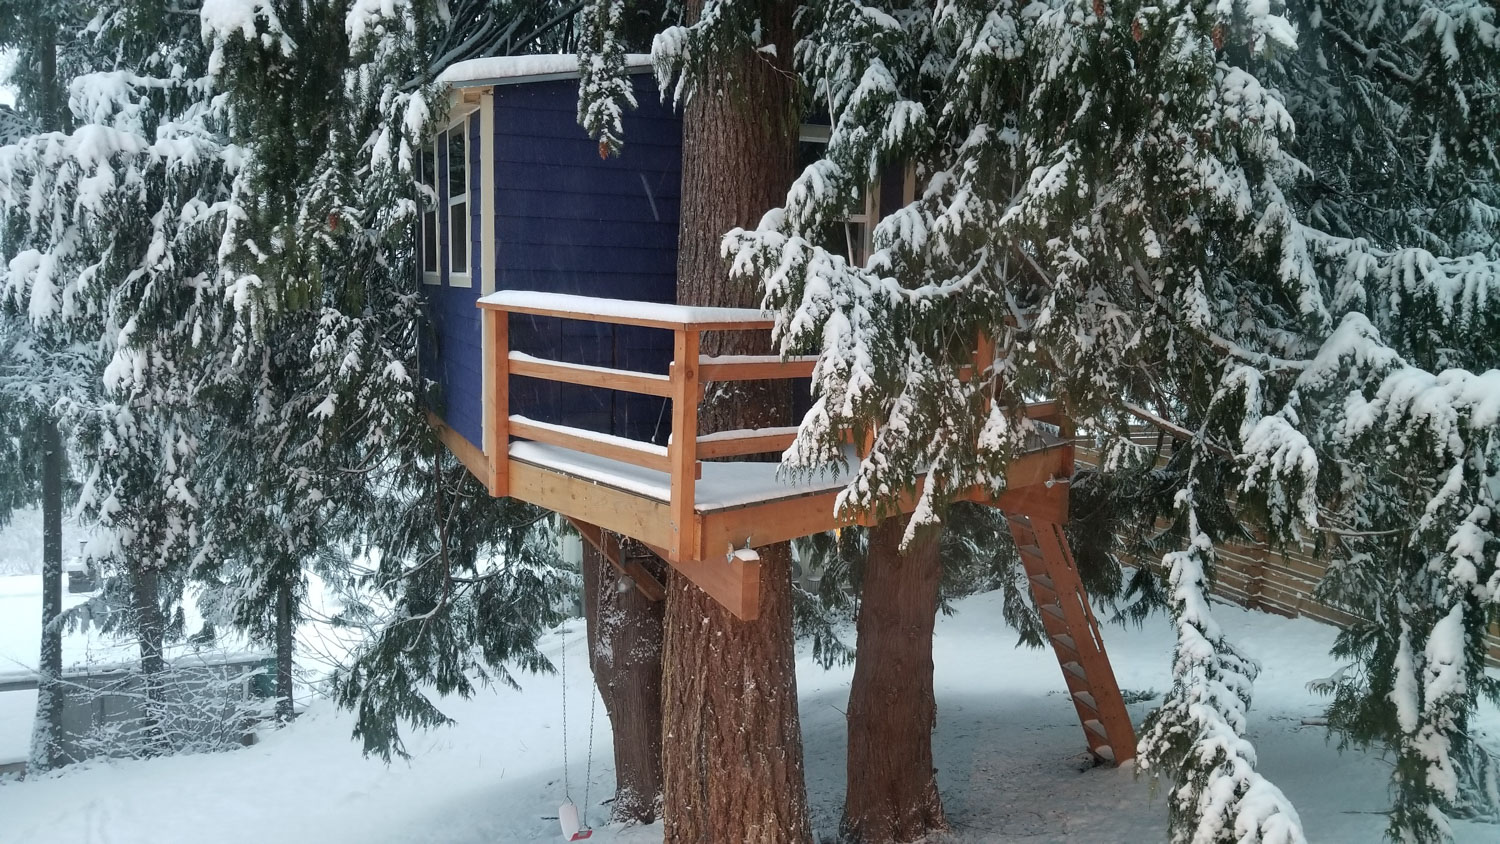 Photo By Mike E.
Thank you for sharing the story of your treehouse build, Mike! We wish you and your family many years of happiness up in the trees.
Building your own treehouse using our plans, hardware, or consultation services? Email us your photos and story at info@nelsontreehouseandsupply.com — we love seeing your projects!
Find the perfect plan for your treehouse and learn more about our consultation services.
To the trees!